Converting a Bar Cabinet to a Vanity
Hello and welcome to quite the long-awaited blog post. We've been talking for months now about giving you a step x step guide to how we converted a bar cabinet to a bathroom vanity. Well, wait no longer because we have finally gotten around to writing up all the details. Let’s dive in.
Why Convert A Bar Cabinet?
So why go to the trouble of converting a piece of furniture to a vanity? The first and most important reason behind our decision was all about depth. A typical vanity is 22” deep. Our little bathroom doesn’t have the luxury of space and we knew we needed something shallower. When we started designing the bathroom, we planned to keep the original layout and a standard size vanity wouldn’t fit.
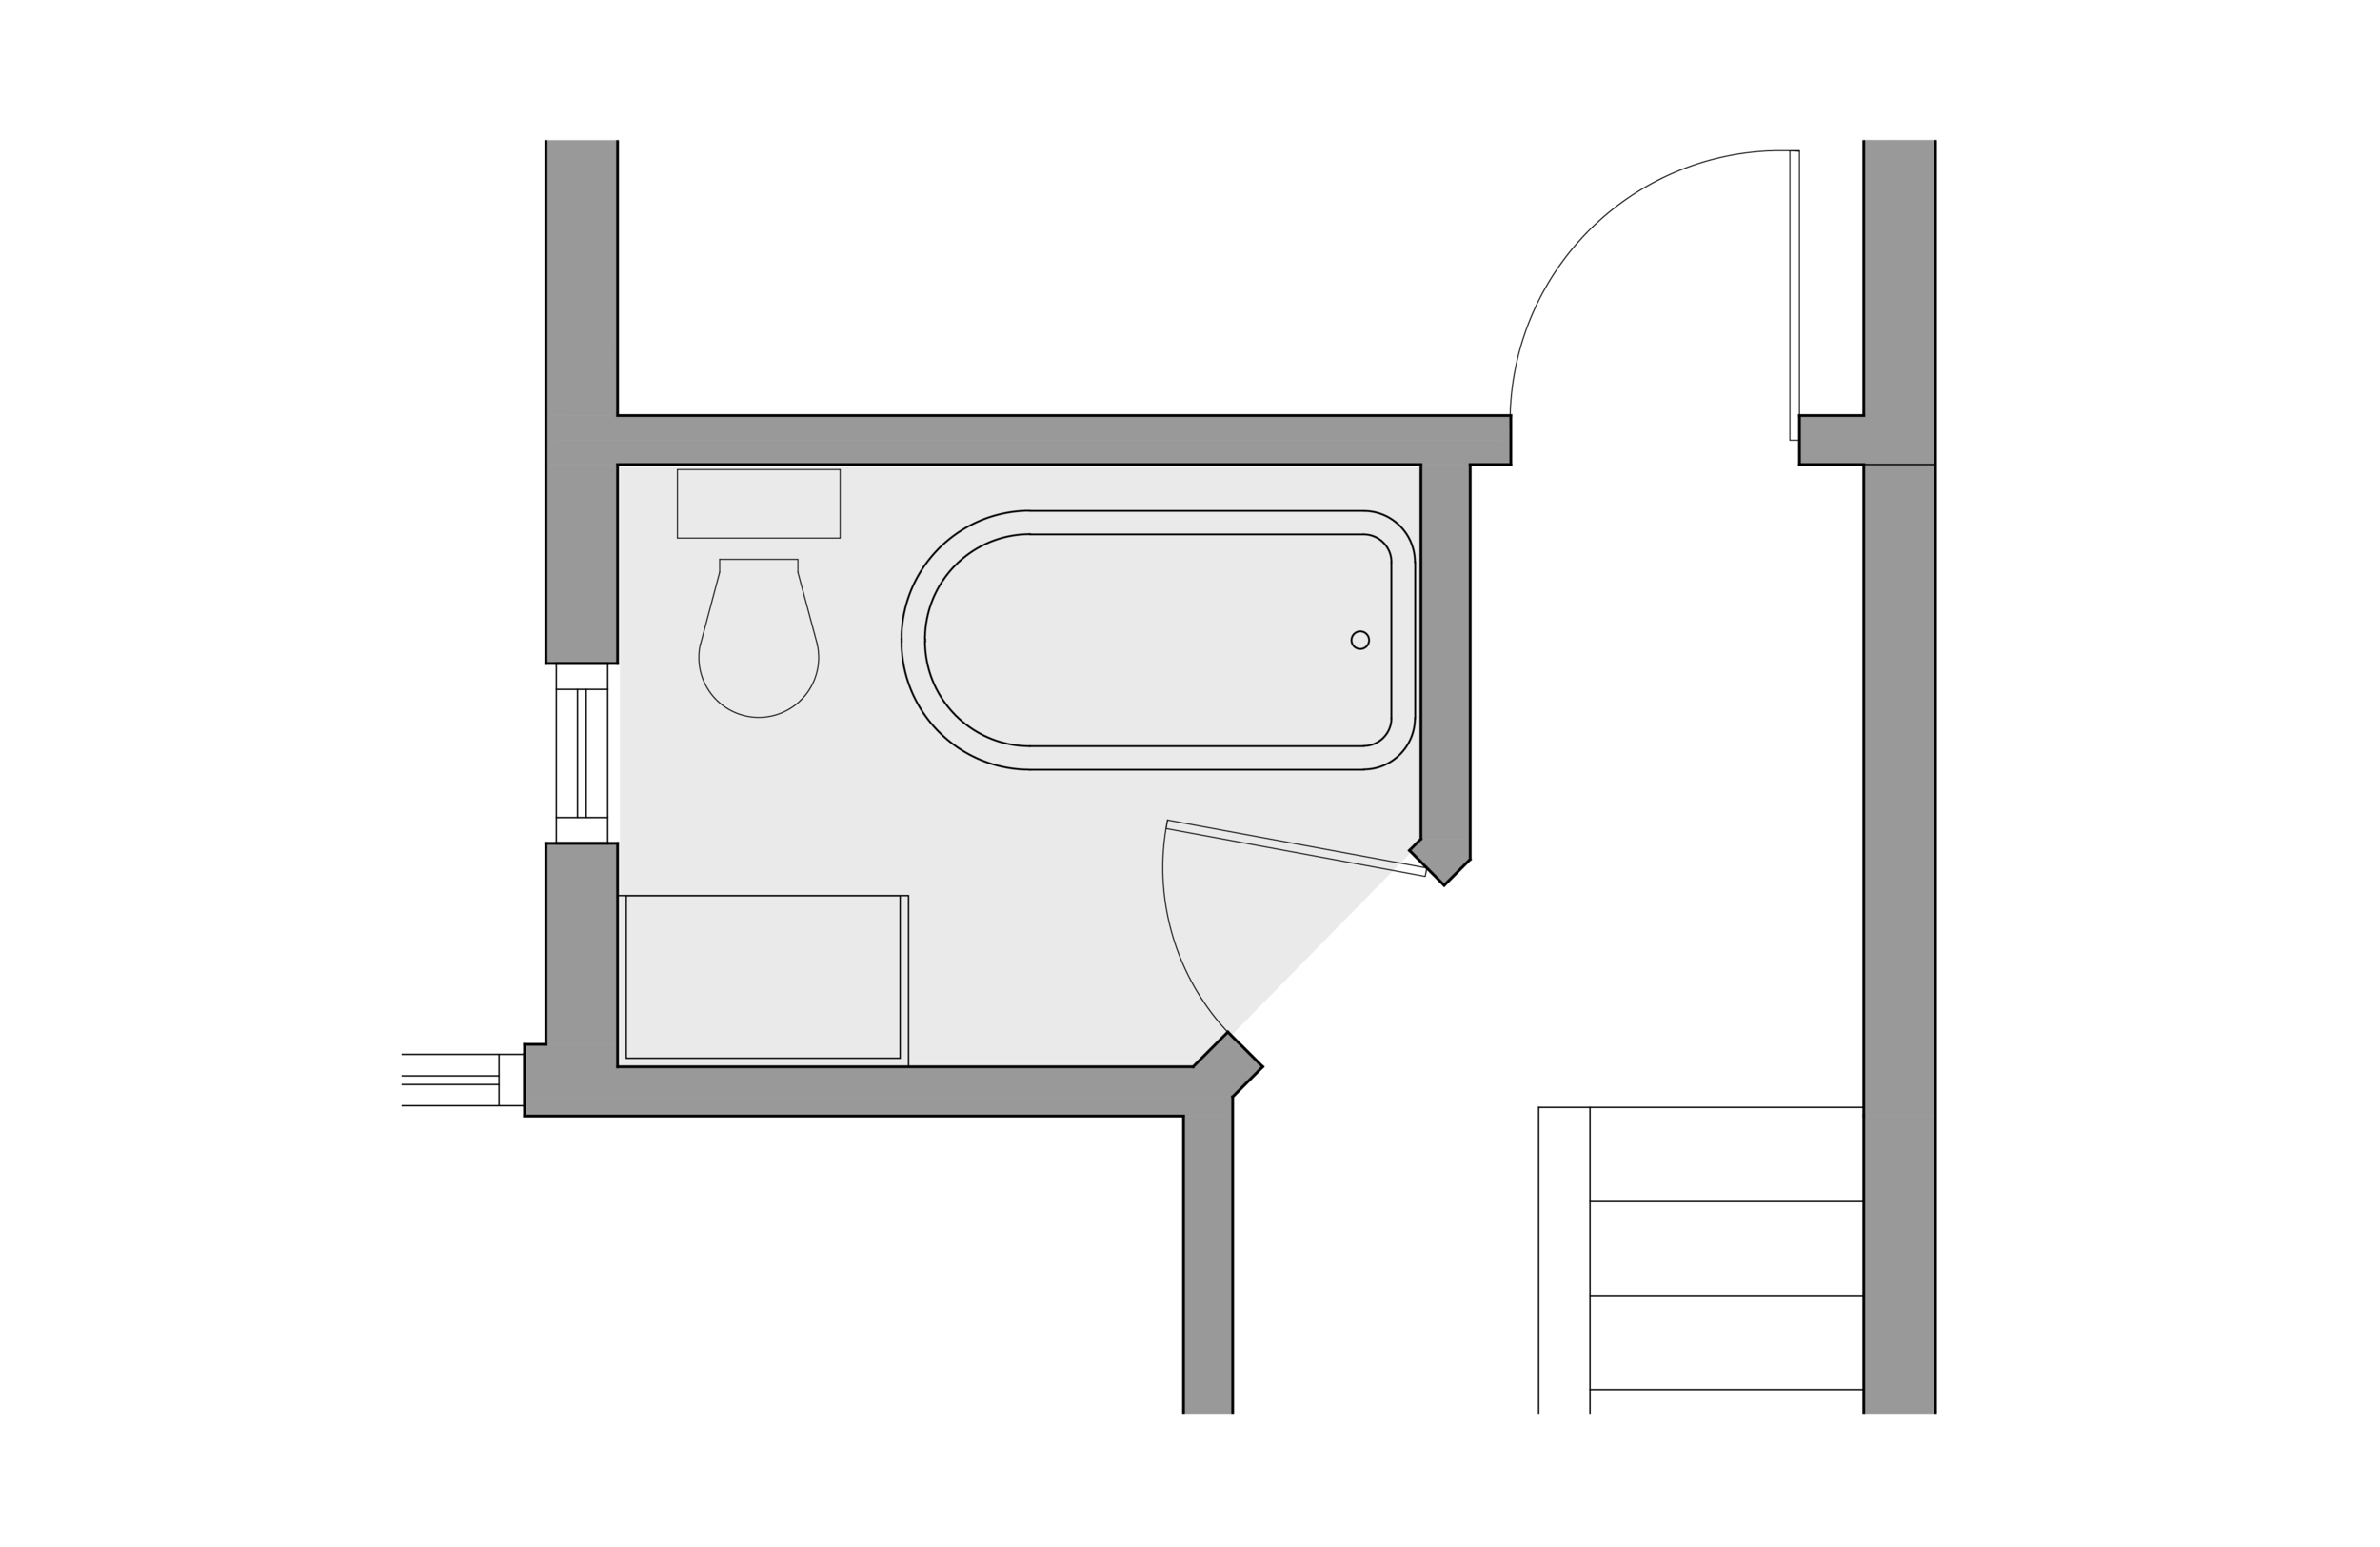
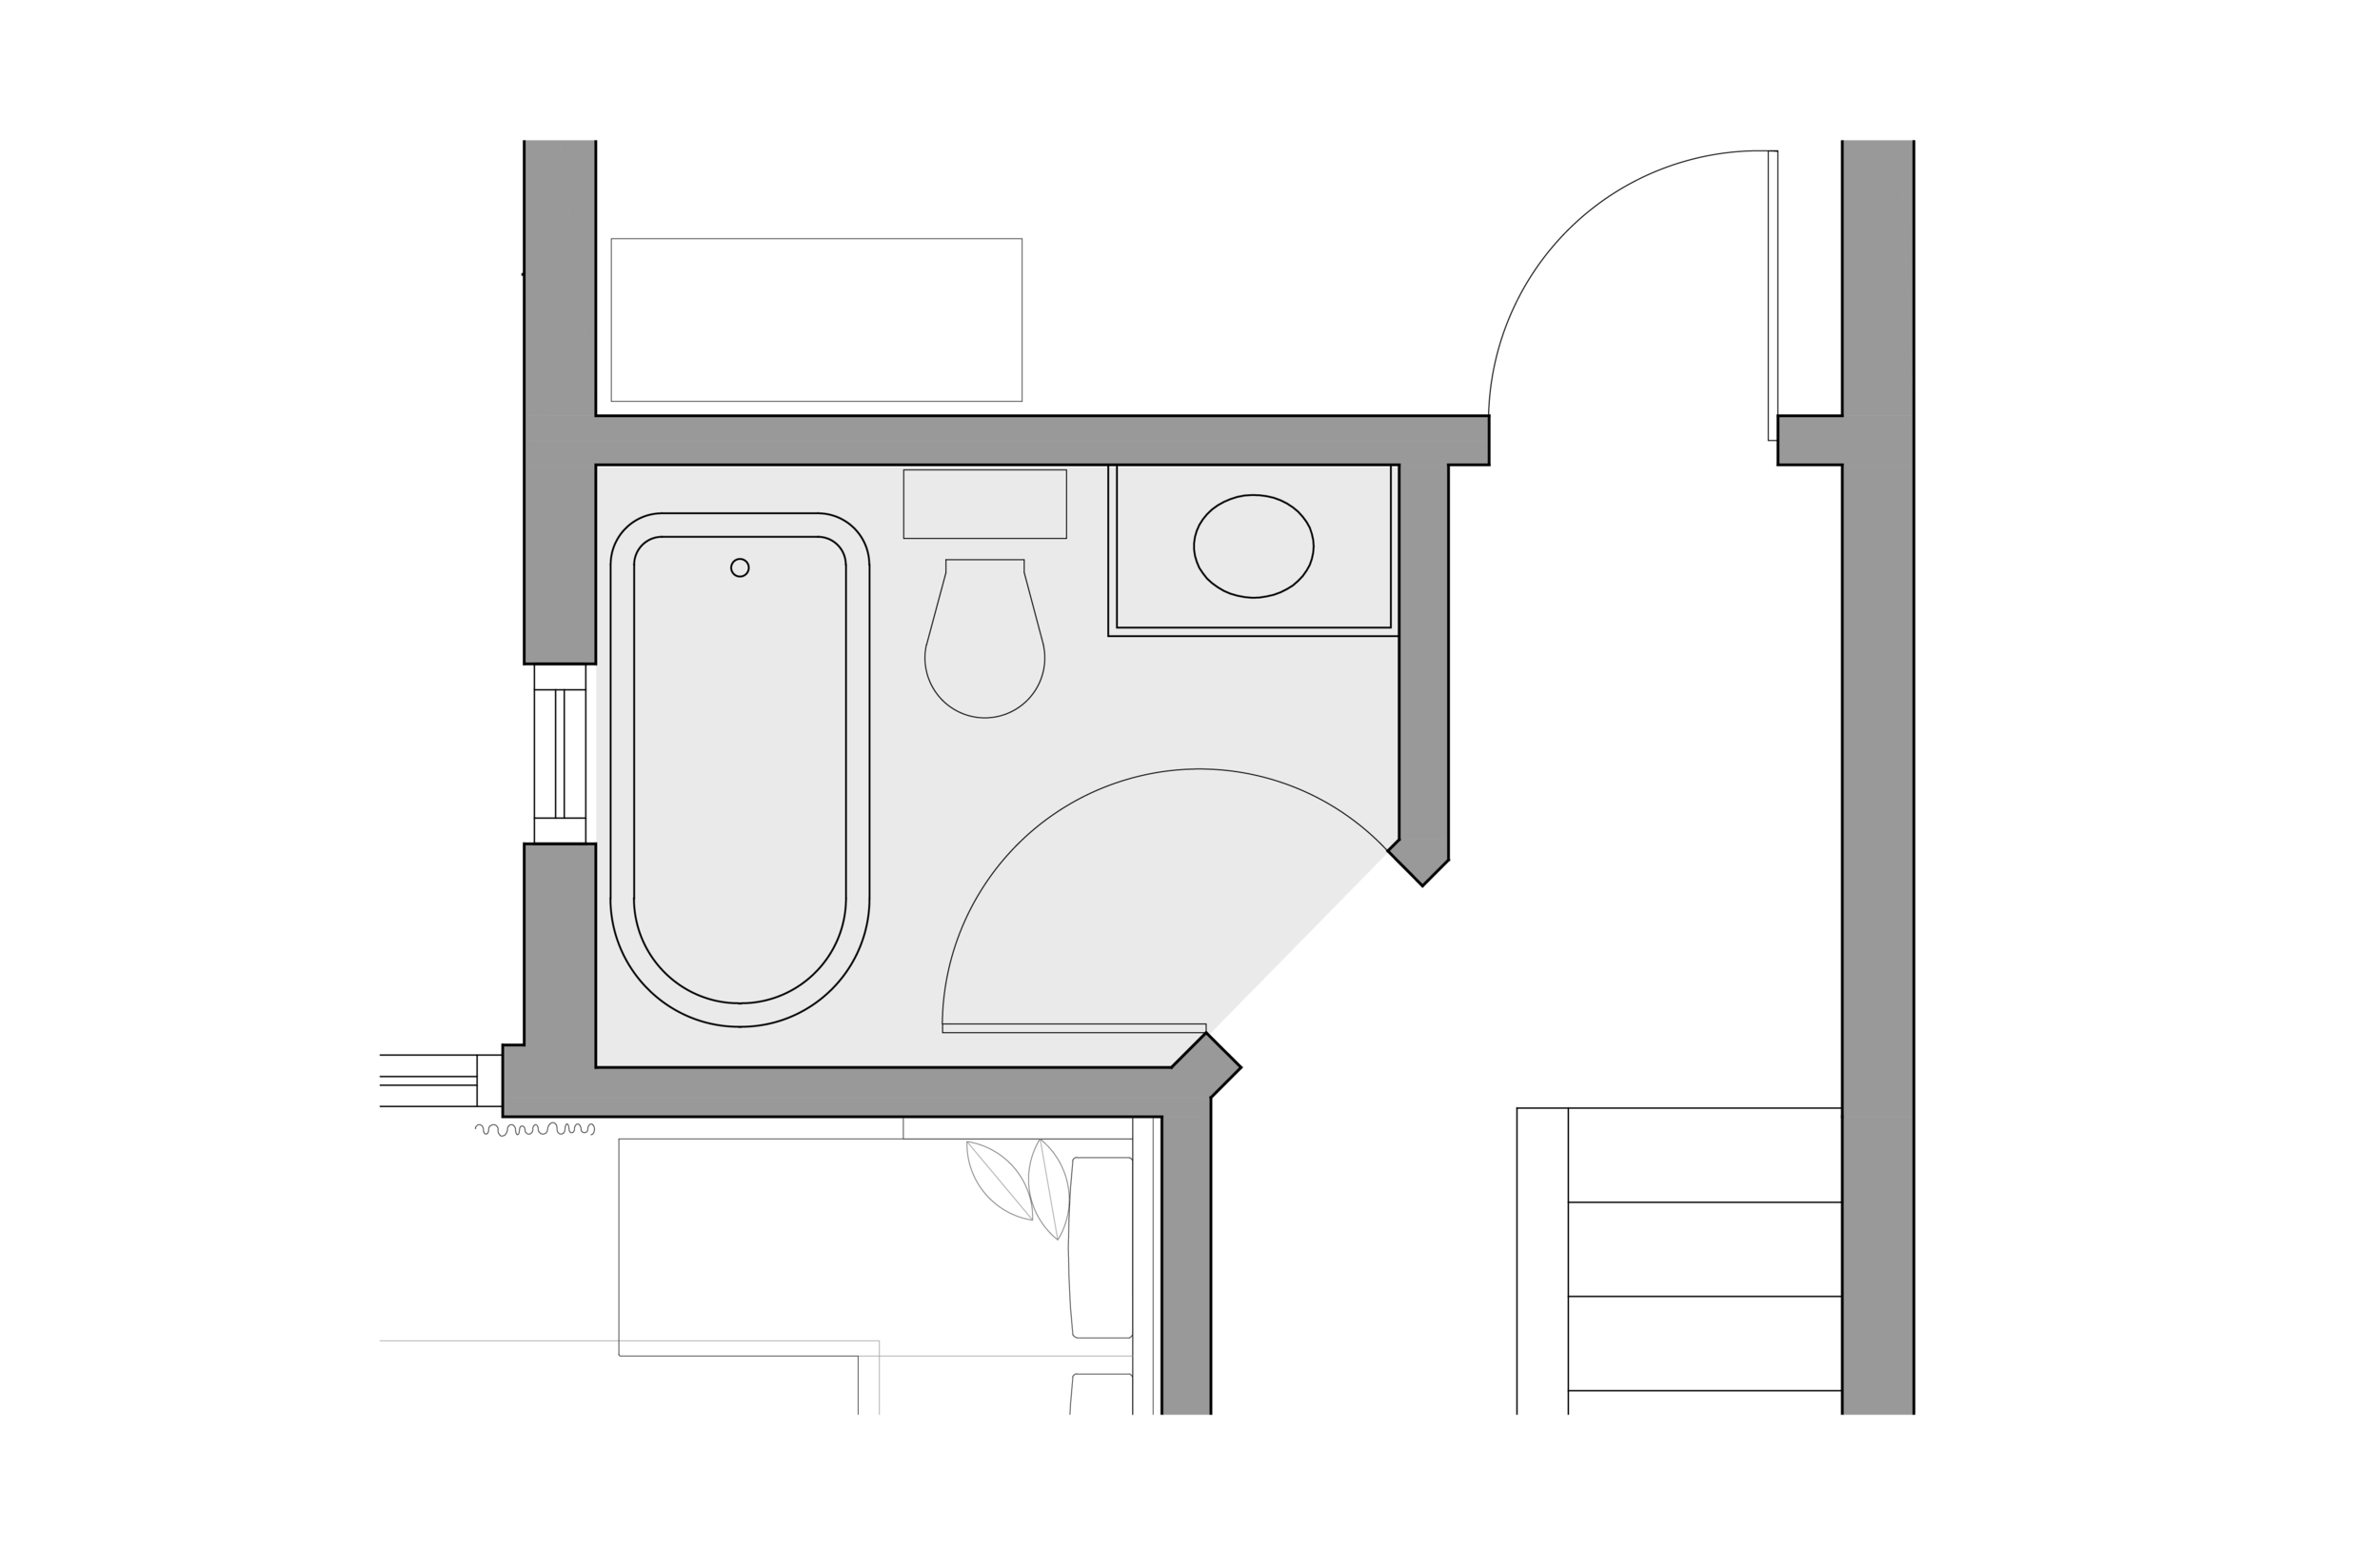


We needed a vanity that was closer to 19” and most shallow depth vanities available weren’t cutting it for us in terms of style. We ultimately decided to change up the bathroom layout which negated the need for the smaller vanity but given the overall scale of the bathroom, we were still glad to have that extra bit of floor space.
“Beyond the practicalities of scale, we liked the idea that the vanity would feel more like a wash stand or freestanding piece of furniture, rather than a built-in.”
While we weren’t going for a historic look, we thought a more furniture-like vanity would feel more appropriate. We first tried to find a vintage piece but ended up settling on this Mid-Century Bar Cabinet by West Elm. It was the right depth and width, and was on a fantastic sale. We snagged it for $450 when it is normally $800! One feature of the piece that we really liked was the height of the legs. By lifting the vanity off the ground, you get a better view of our custom tile pattern and makes the room feel bigger overall.
Funnily enough, a year after we bought this bar cabinet, West Elm released a remarkably similar collection of vanities based off the same furniture line. Initially, we were a bit disheartened knowing that we could have bought something instead of DIY-ing our own. In the end we decided we were actually better off. In our version, we could control the depth (the in-stock product is 22” deep vs. ours is 19”), select our own countertop material, and overall we liked the vertical wood grain and door format better.


A Step x Step Guide
Now that we’ve given you the full back story on ‘the why’, let’s get to ‘the how’. We first had to get our rough-in plumbing figured out. We were glad we had the cabinet in hand when we started this process since the sink drain needed to be set at the right height to fit in the cabinet properly.


Once that was taken care of, we were able to start the modification process. The first step was to remove the shelves, the wine rack, and the upper cubbies on the doors. We then used a jigsaw to cut a large rectangle out of the top to make way for the sink basin. Next up, we cut a section out of the back based on where the plumbing would be.
Another added bonus of customizing this cabinet was that we could add a below-counter receptacle. If you haven’t done that for yourself, we highly recommend it. We keep our toothbrush chargers and google home mini plugged in under there. It’s a great way to avoid cords on the counter.
“There were a couple lessons learned when it came to making this bar cabinet work as a vanity. ”
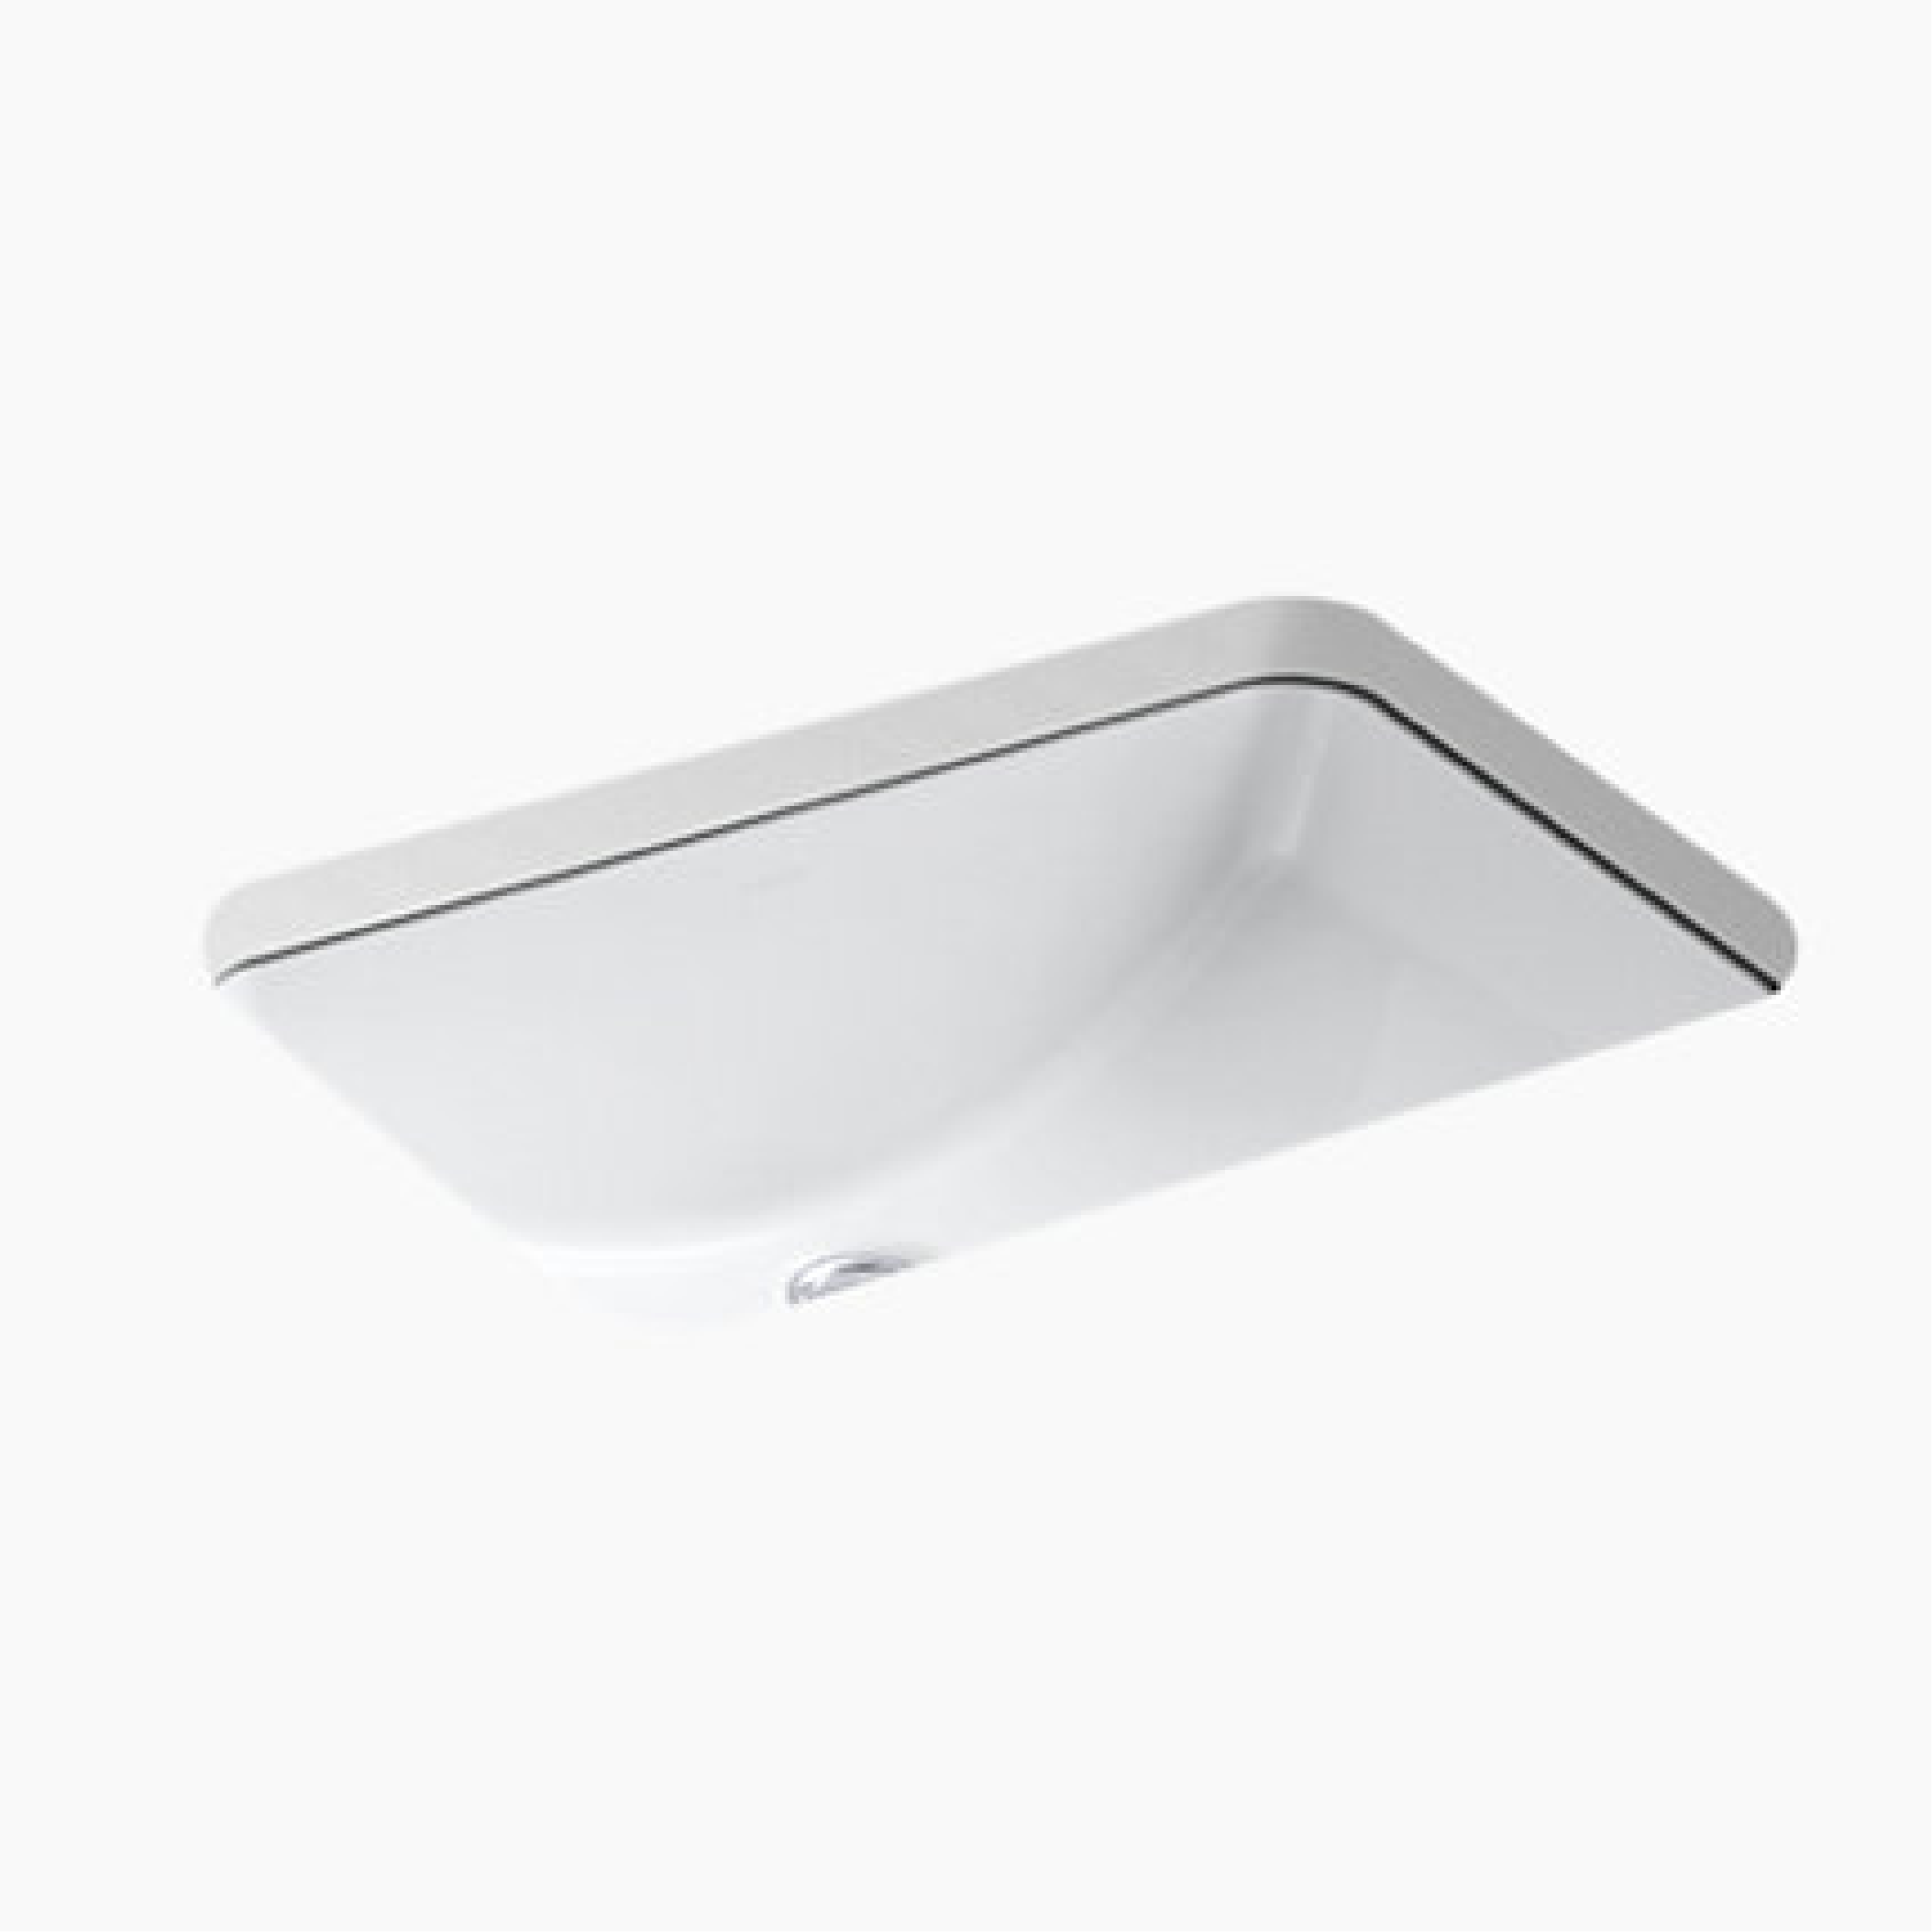
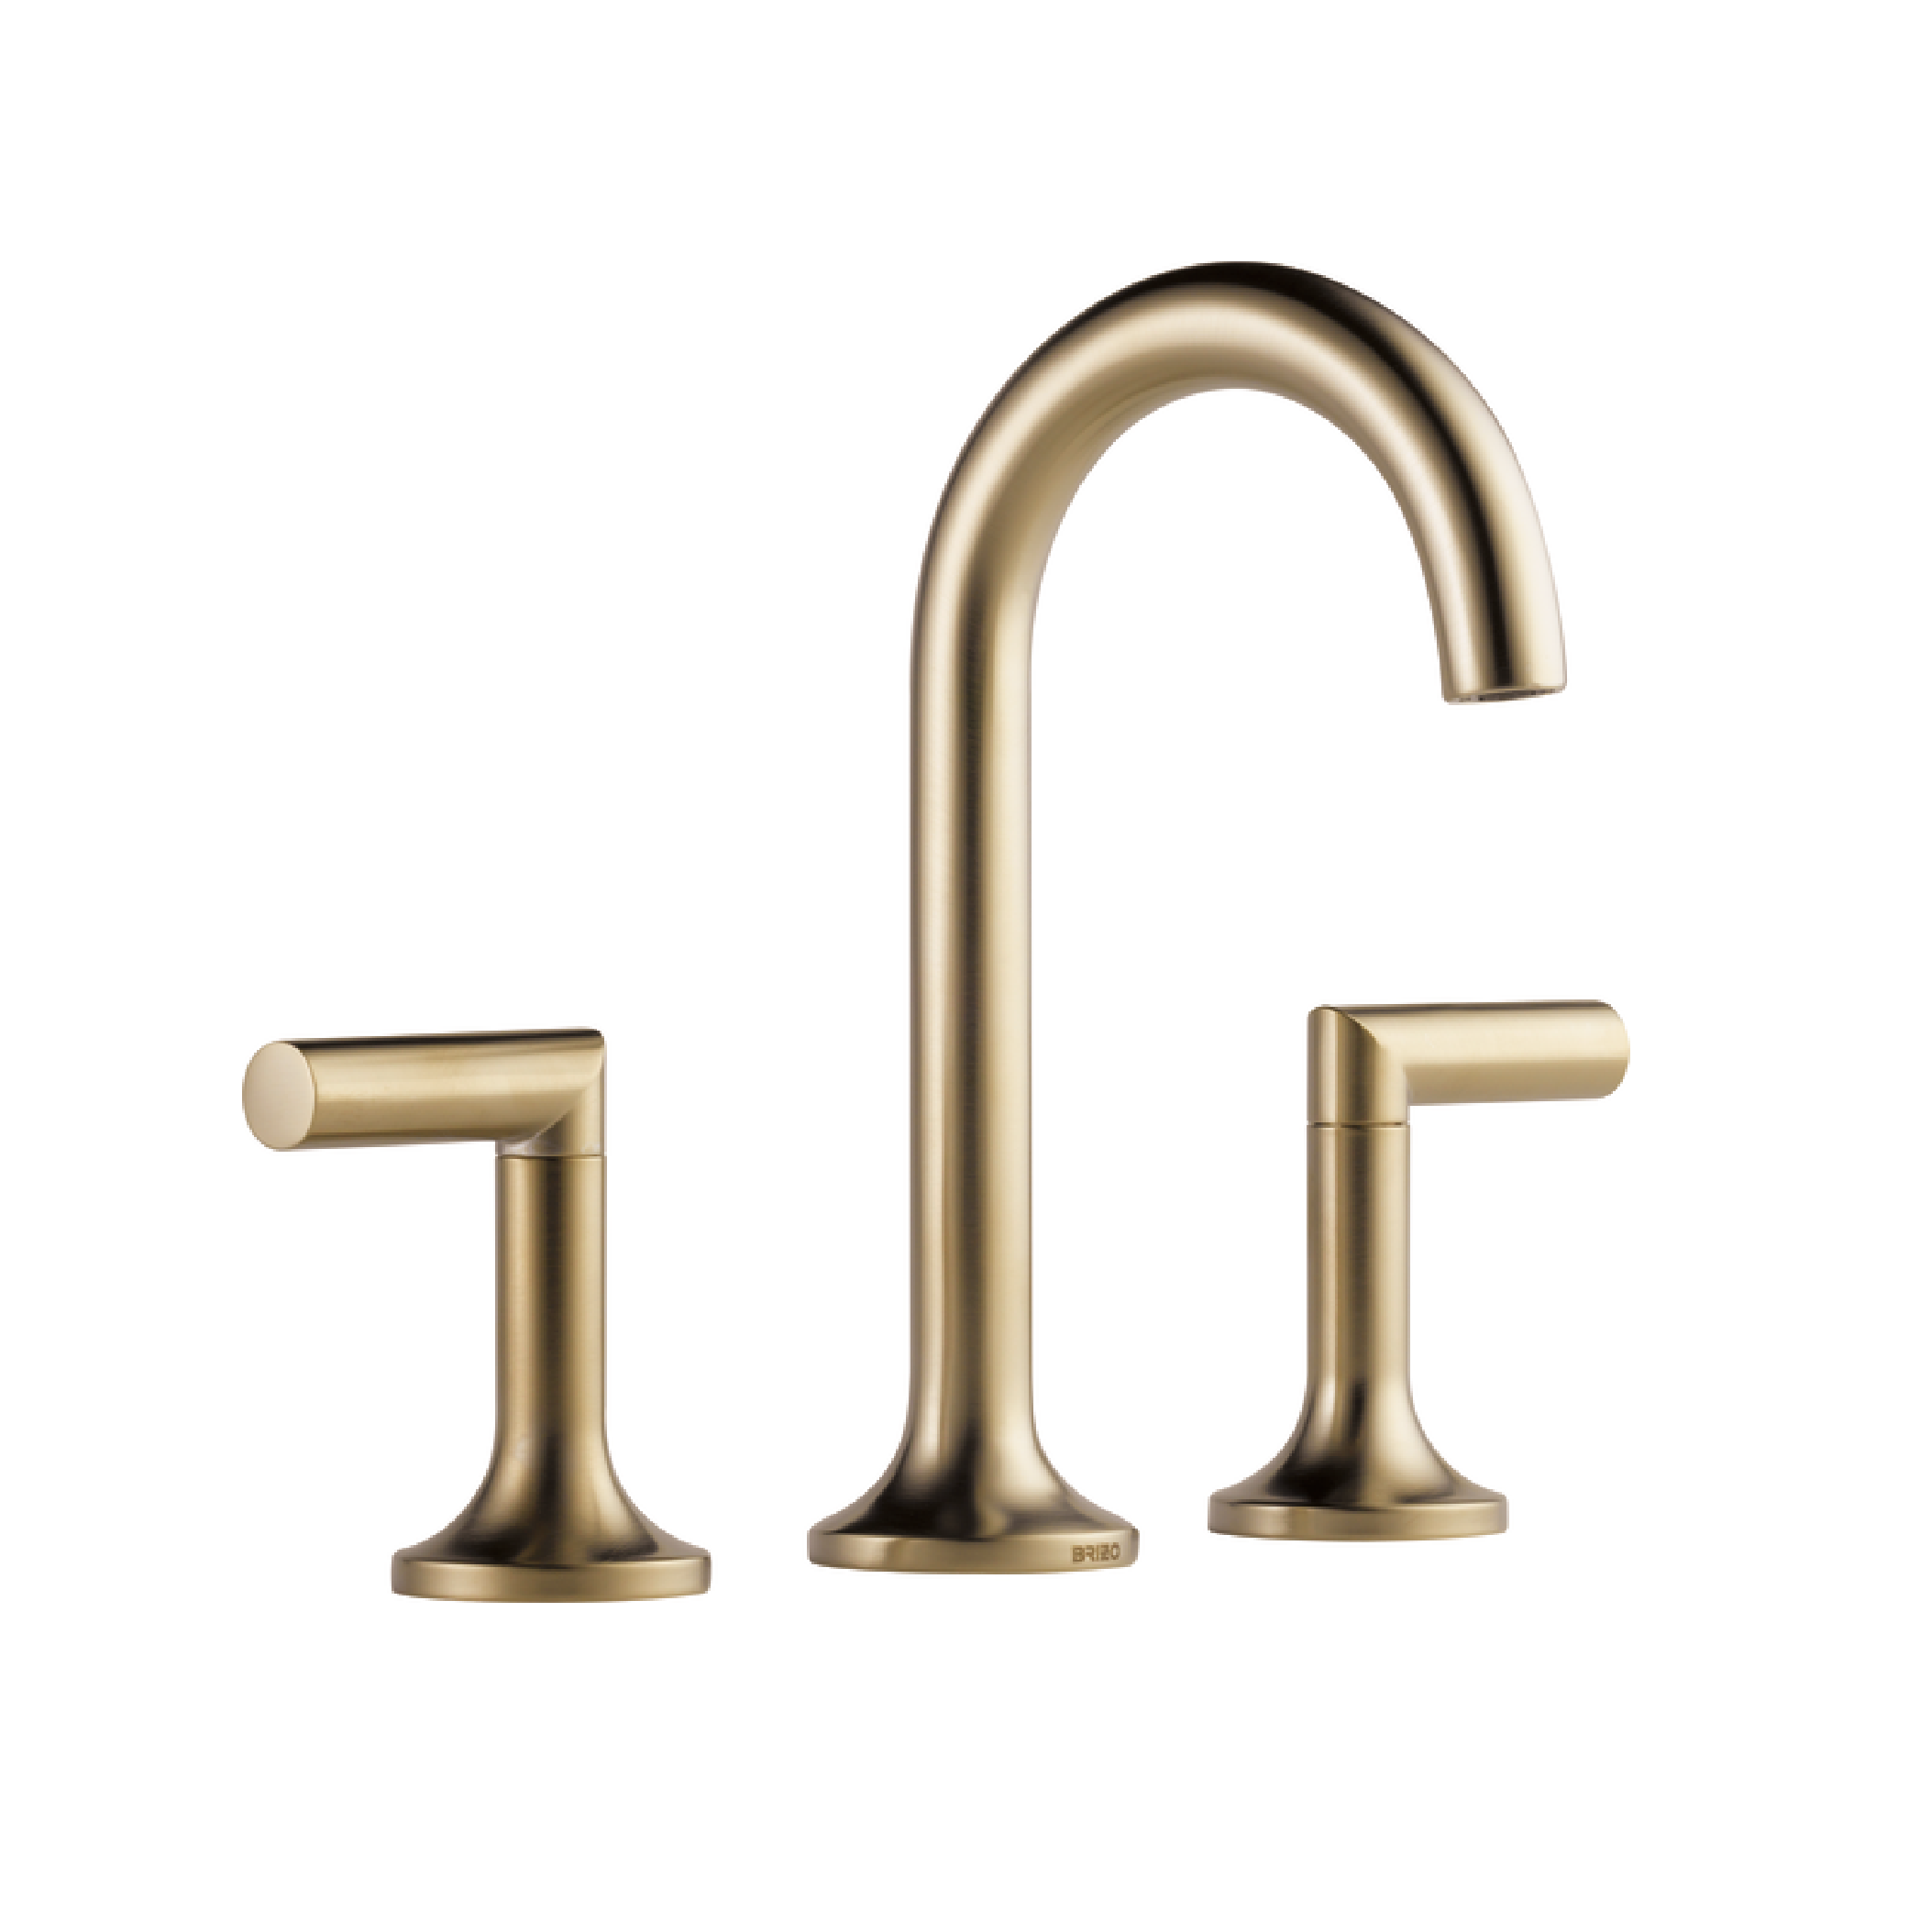
One - there is a reason a standard vanity is the depth that it is. At our petite 19” depth, it was a bit tricky fitting everything in. We had to account for the size of the basin, the faucet and plumbing lines, maintain proper edge distance for the countertop cutting, all while having enough “knuckle room” to tighten everything up below. It worked out in the end but we might have opted for a slightly smaller sink basin had we known how tight it would be.


The second lesson we learned had to do with modifying the interior. Initially, we didn’t realize we would have to remove the upper door cubbies. Because they were glued to the door, there was no clean way to remove them and had to use an oscillating saw to cut them off. We haven’t decided yet how we will fix this area of the cabinet.
If you have any recommendations for us, please go ahead and leave a comment below or reach out to us on instagram. There is also a warning sticker on the inside of the door that we’ve been meaning to remove. We should be able to get it off with a sponge and some water. If not, we can try mineral spirits. One day we’ll get around to it.


Selecting the Countertop
To round out our step x step guide, let’s talk countertops. By doing this as DIY, we could select our exact countertop material and slab. We started by going to a couple local counter fabricators to get pricing. We saw a few marble remnants that were contenders but knew we wanted to be able to take a physical sample home with us to review in the space.
It’s so important to see how materials work together, especially when you have lots of whites in a room. Because our wall tile, floor tile, and tub were all white, we needed to make sure the white undertone of the countertop played well with the other finishes. Since we couldn’t take marble samples home, that ruled them out.
We opted to go with quartz since it is more durable and predictable. We narrowed in on two options: Victostone Misterio and Antolini Calacatta Gold Vein. We like the Antolini quartz more but the Vicostone option looked better with the rest of the finishes. We settled on the Vicostone Misterio which meant we were super close to finishing this bar cabinet to vanity conversion!
A lesson learned at our last house was that it really pays to pick your exact slab and the location of the cut. We didn’t do that at our last kitchen and really regretted it. In laying out where the slab is cut, you get to specify the amount of veining activity and how the veins are oriented. Rachel has had lots of experience with selecting stone in the commercial world and has even gone on multiple stone trips to Italy to select and dry lay material. The residential stone world is a little bit different, however, so this has been somewhat of a learning curve.


Well folks - we’ve given you all the details and more for how we DIY’d our vanity. From the time of selecting the quartz to the time of install was about 4 weeks. Overall, it may have been more work than buying an off-the-shelf product but we’re happy with the result. What do you all think? Was it worth it?


