Custom Mosaic Tile Guide: How to Get the Look
When it comes to selecting floor tile, we know that it can be hard to even know where to start. The world of tile is very big and can definitely be overwhelming. Compound that with all the custom tile options out there and suddenly it seems like an endless amount of variations to pick from. We’re here today to break down that process and walk you through our latest tile project. We’ll be exploring porcelain mosaic tile and all its fun possibilities and combinations. Keep scrolling if you want to see our inspiration plus all the many, many pattern options we tried. We’ll also give you a step-by-step guide as to how you can get the same look or create your very own unique design!
Mosaic Tile: Our Constant Friend
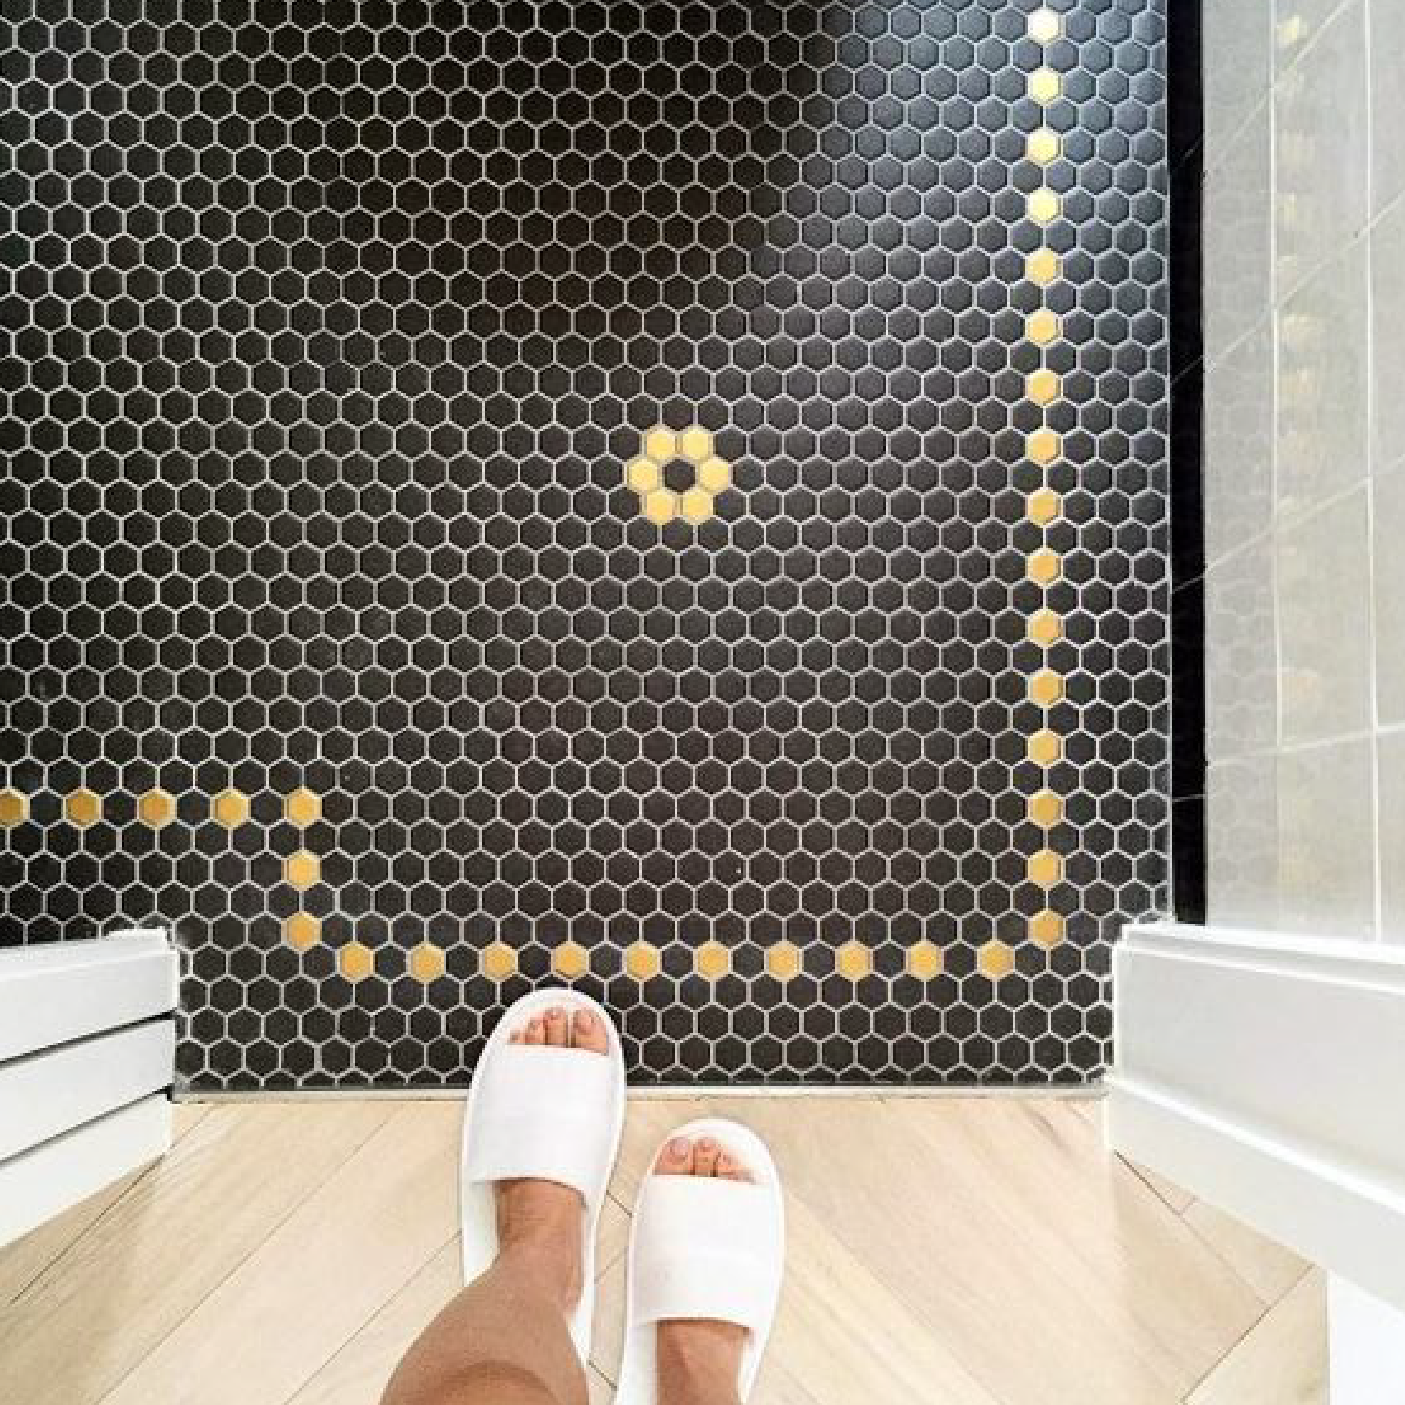
Some of you may remember in our New Haven project that we used hex mosaic tile in all 3 bathrooms. I swear this isn’t the only tile we know how to use (we’ve got plans to do something very different for our future master bath addition) but there are many reasons why we wanted to use it again here in the Richmond house. Here’s a quick rundown of our top 4 reasons why we love using this particular mosaic tile.
It feels historically appropriate to the era of house and will look great in context of our restored clawfoot tub.
Hardwearing to the max. It is legitimately a through-body tile which means if it scratches or chips, it would be the same color. Most tile these days just has a surface-applied color and is not the same all the way through. With a through-body, this tile could last almost indefinitely.
We like that it is made in the USA (Maryland specifically). Here’s a link to the specific product.
The ability to customize the pattern is fun and allows you to create something completely unique and one-of-a-kind for your house.
Finding Our Pattern
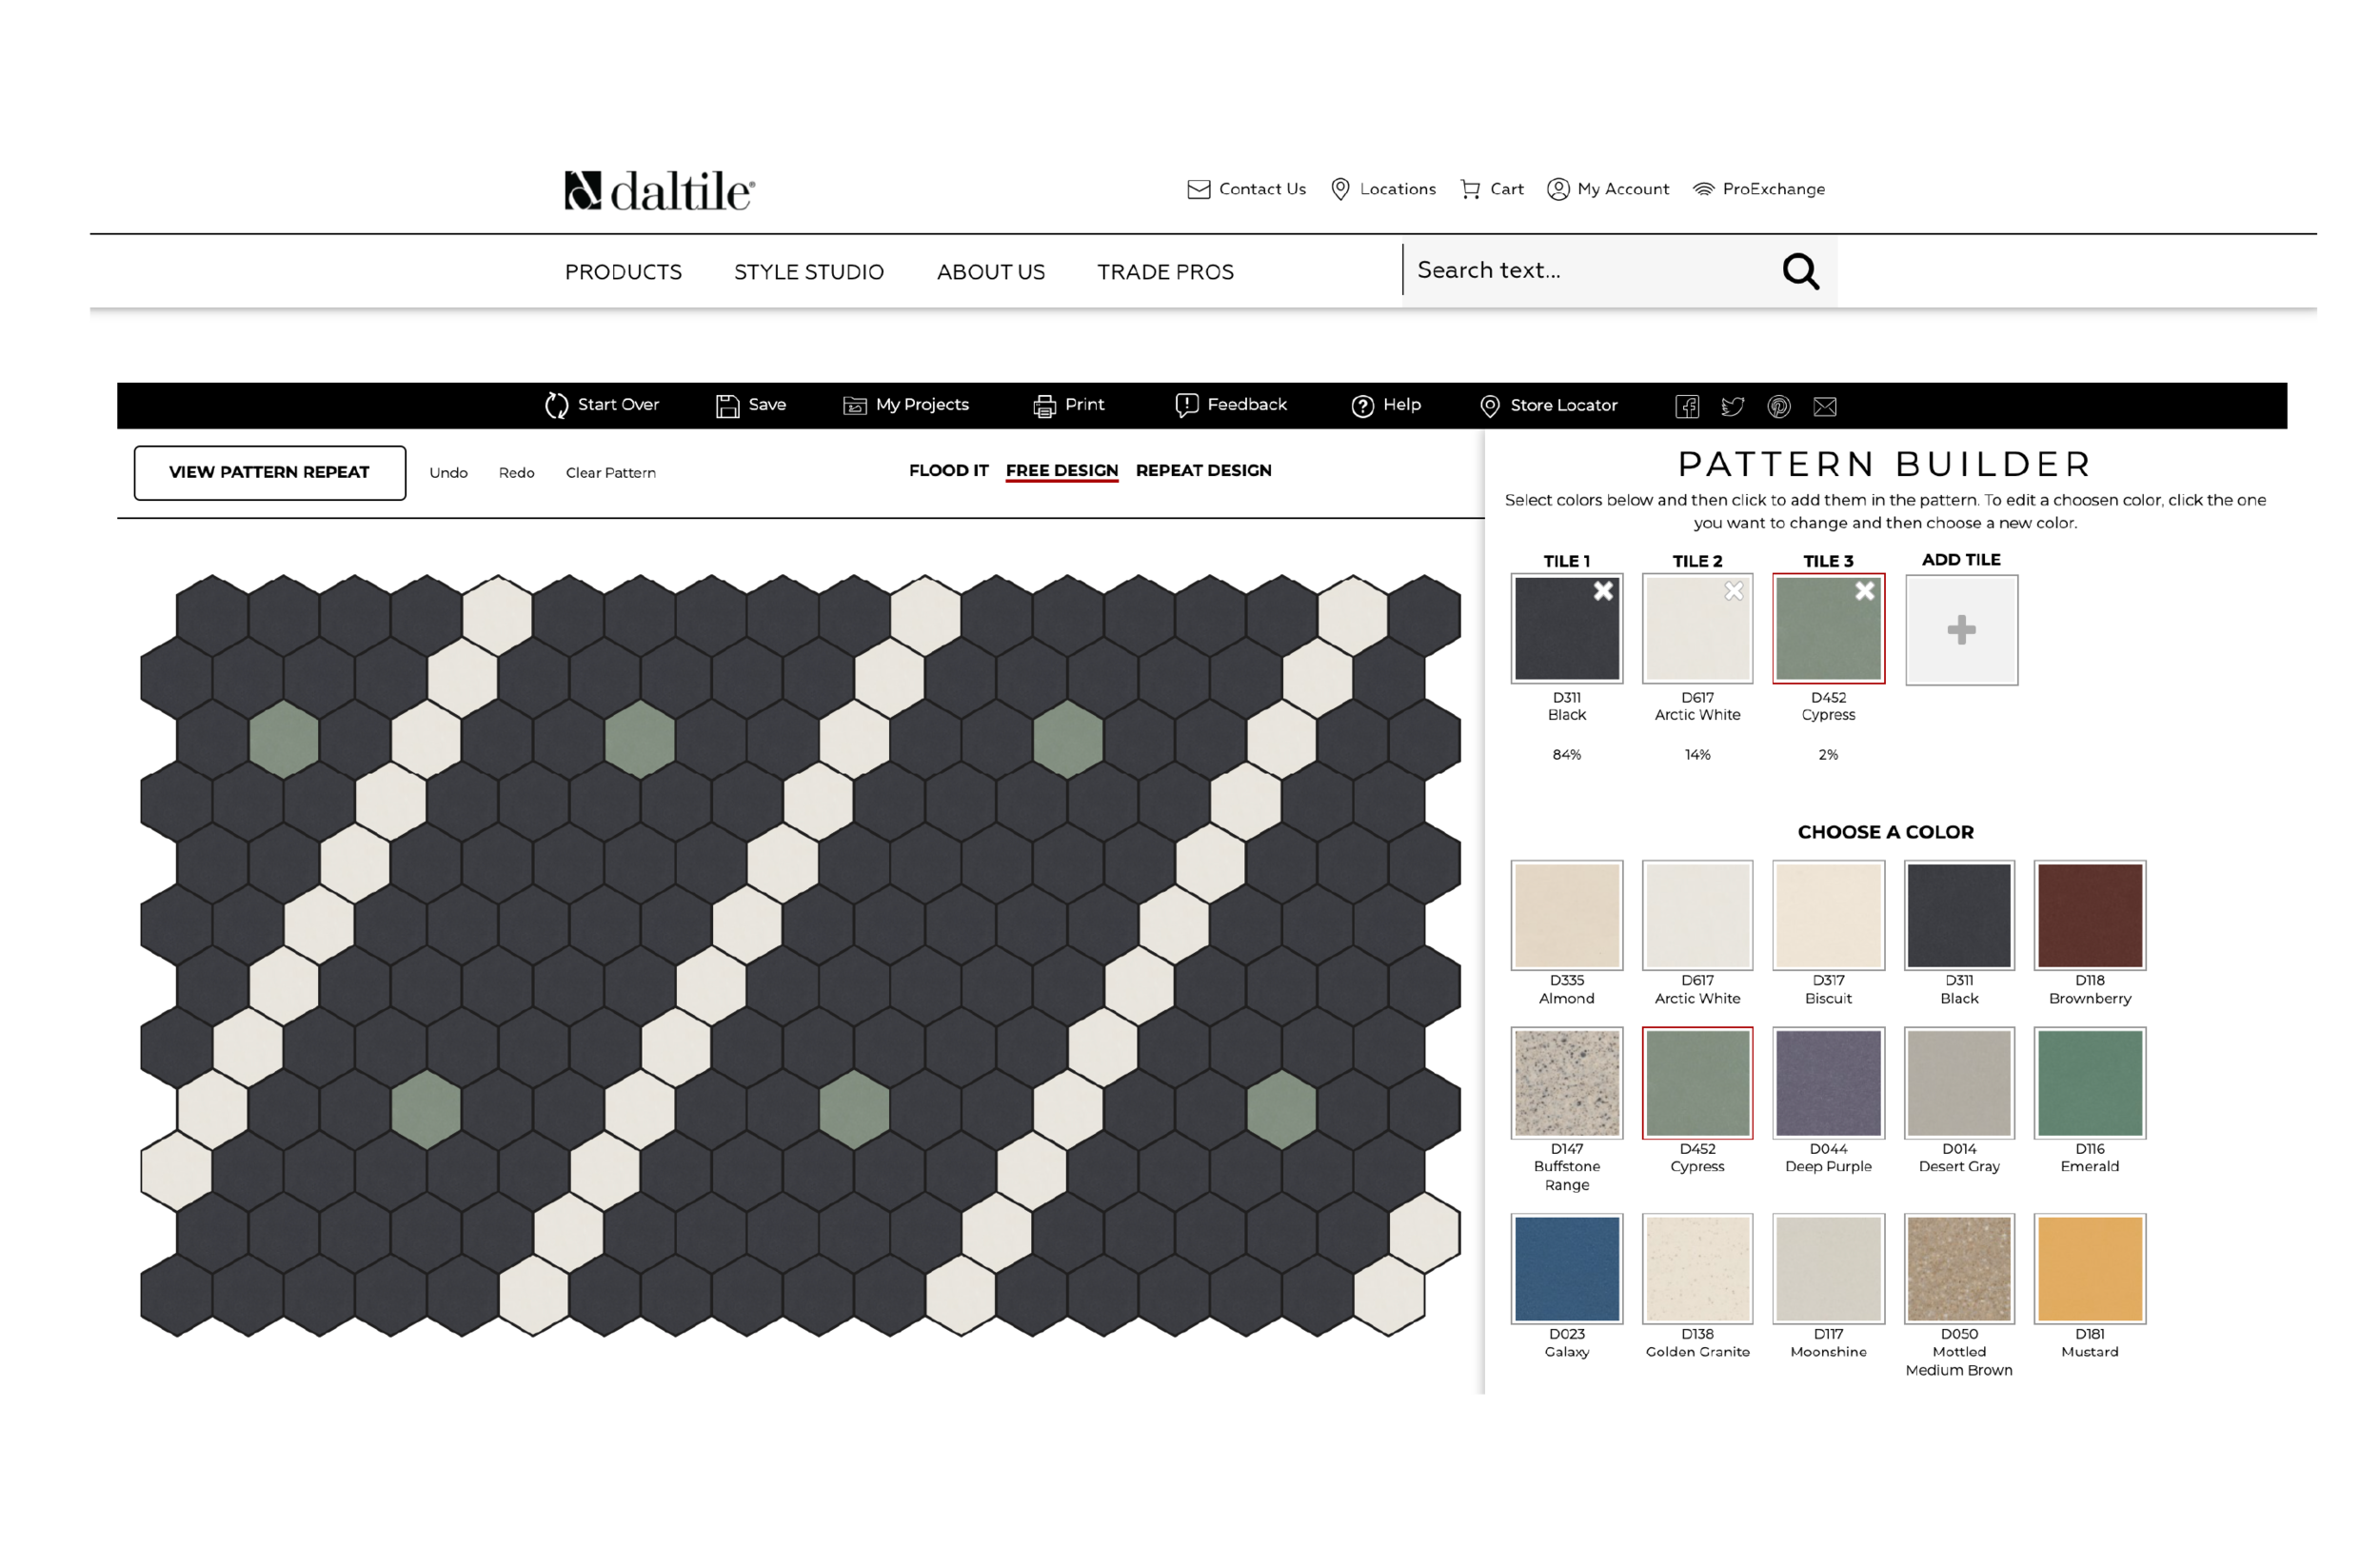
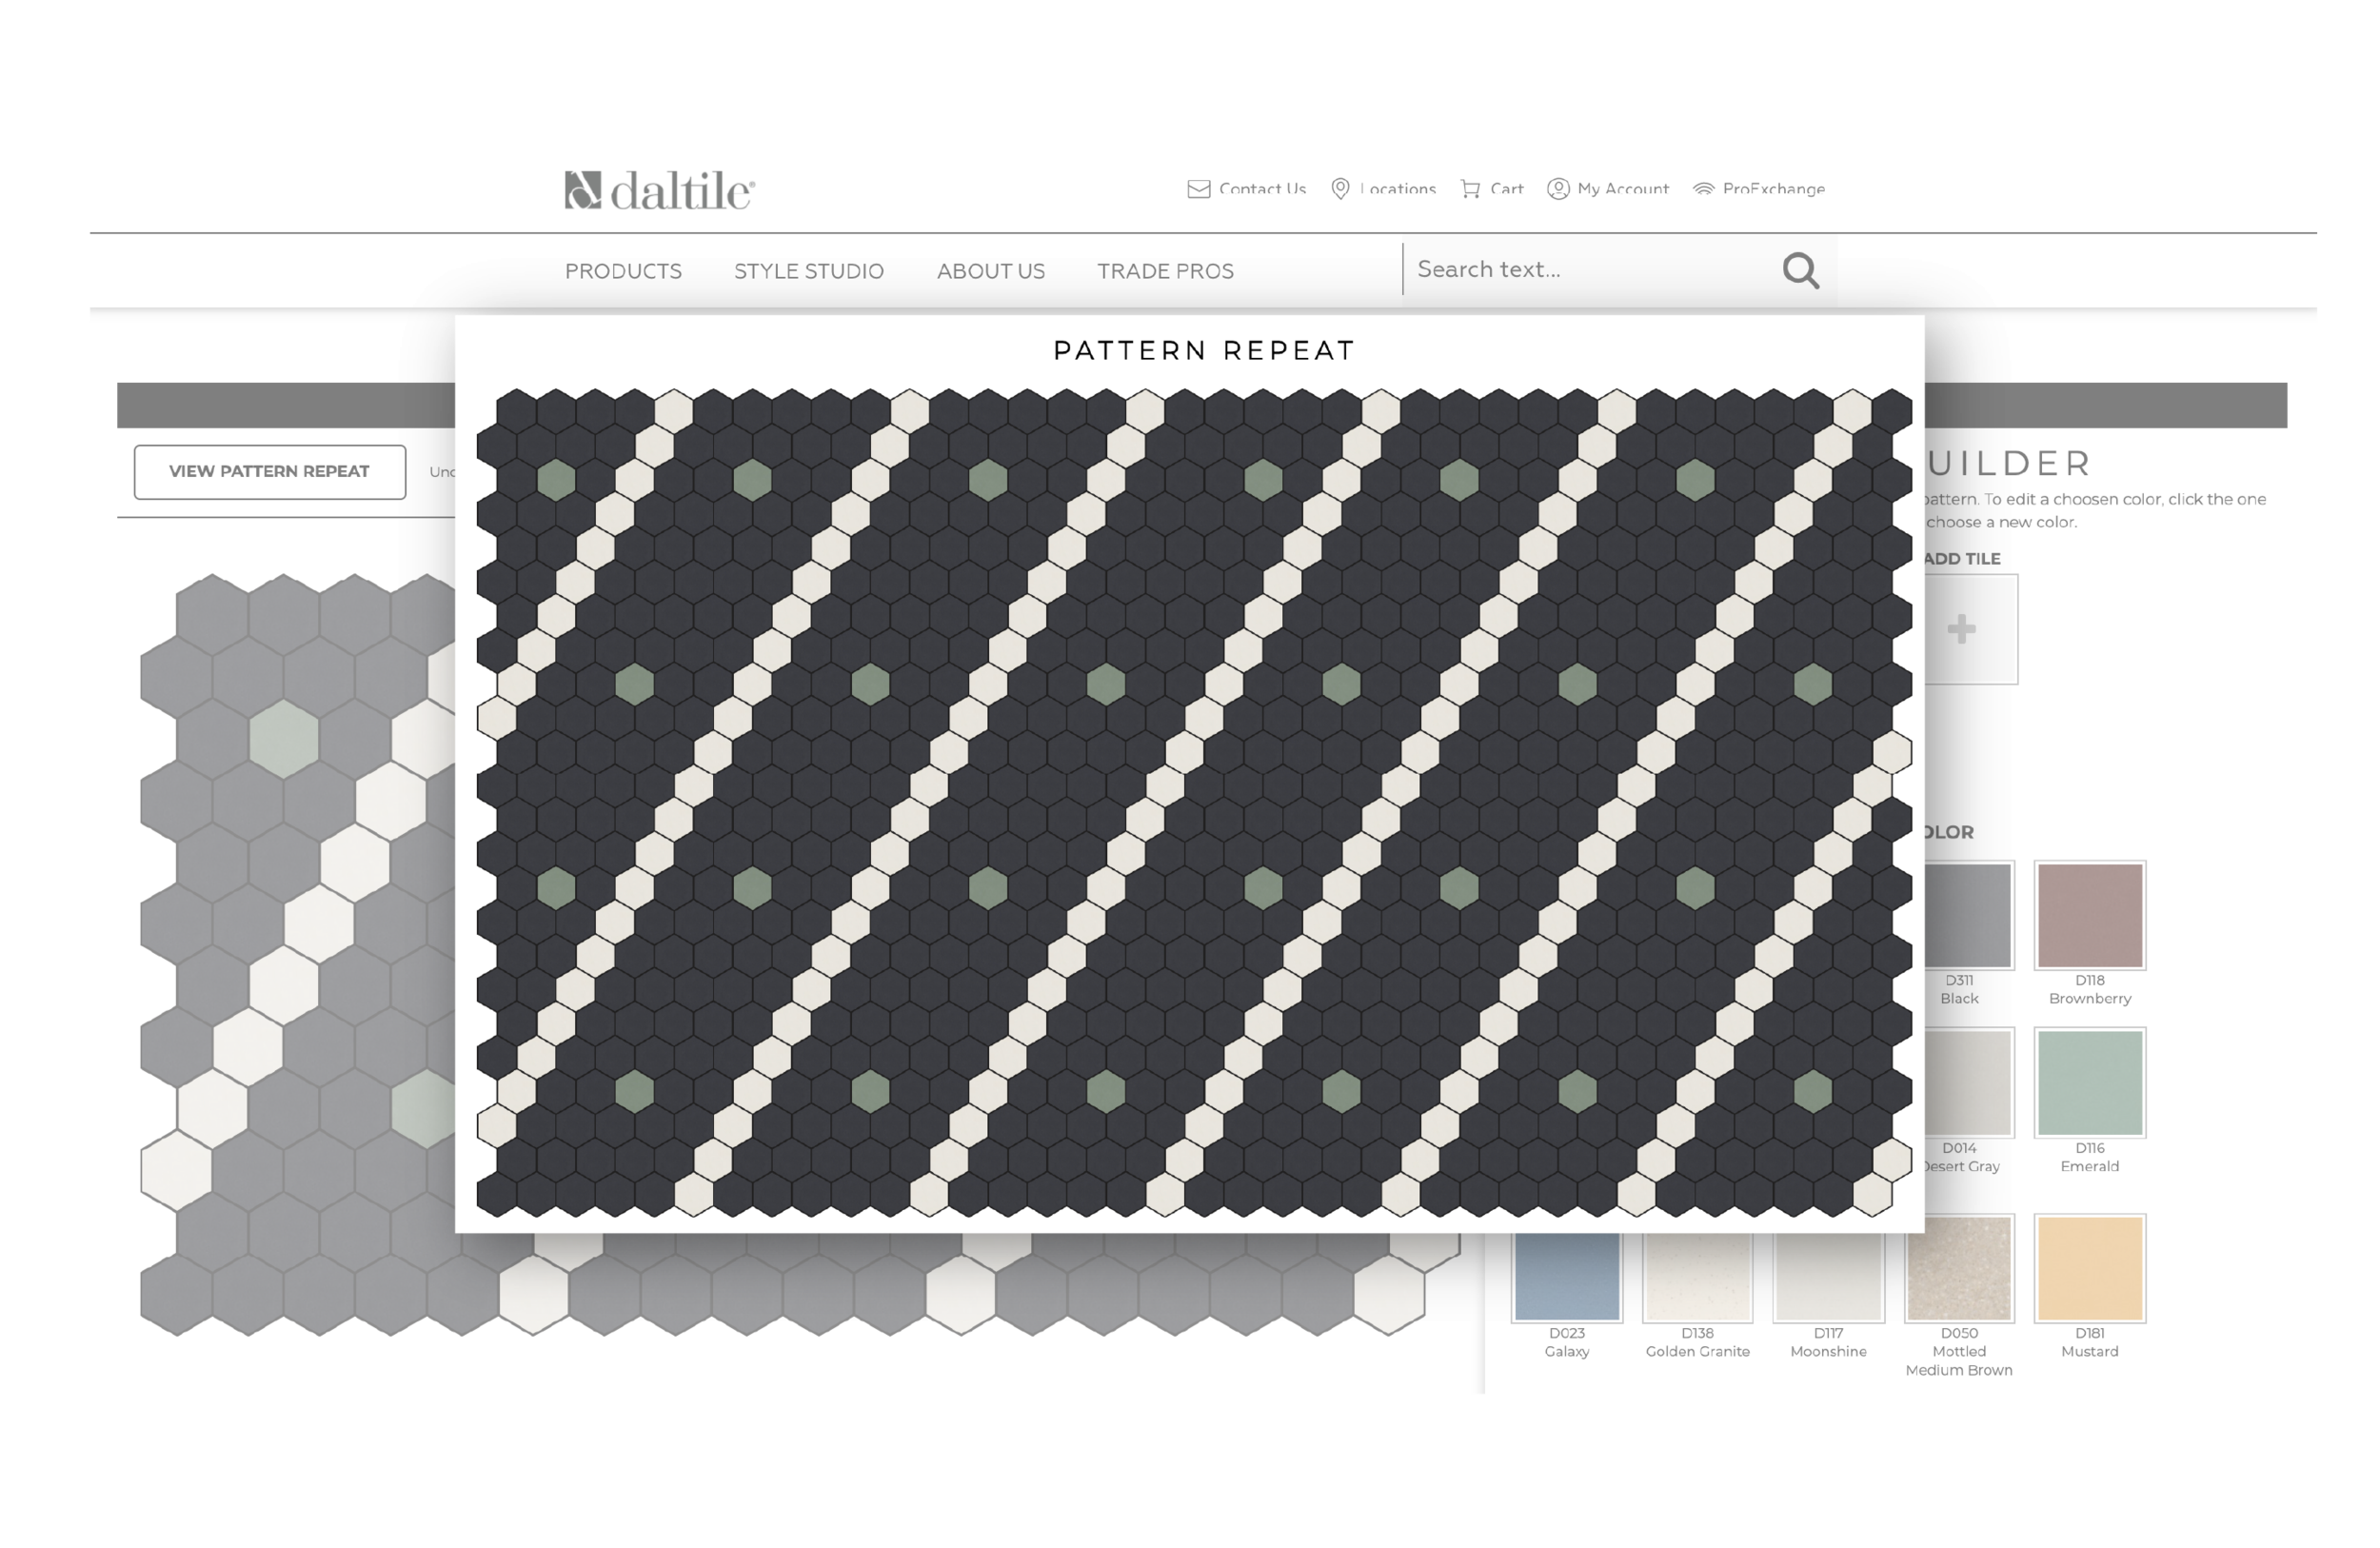
Once we decided to go the custom mosaic tile route, we needed to figure out our pattern. We wanted to experiment with color and knew that the pattern needed to work with the rest of the colors we had planned for the house. We will be using this tile in not only the upstairs middle bathroom but also the downstairs pantry and mudroom. All three spaces have a similar material palette - warm wood, marble-like quartz, brass, and this great muted olive paint color from Sherwin Williams.


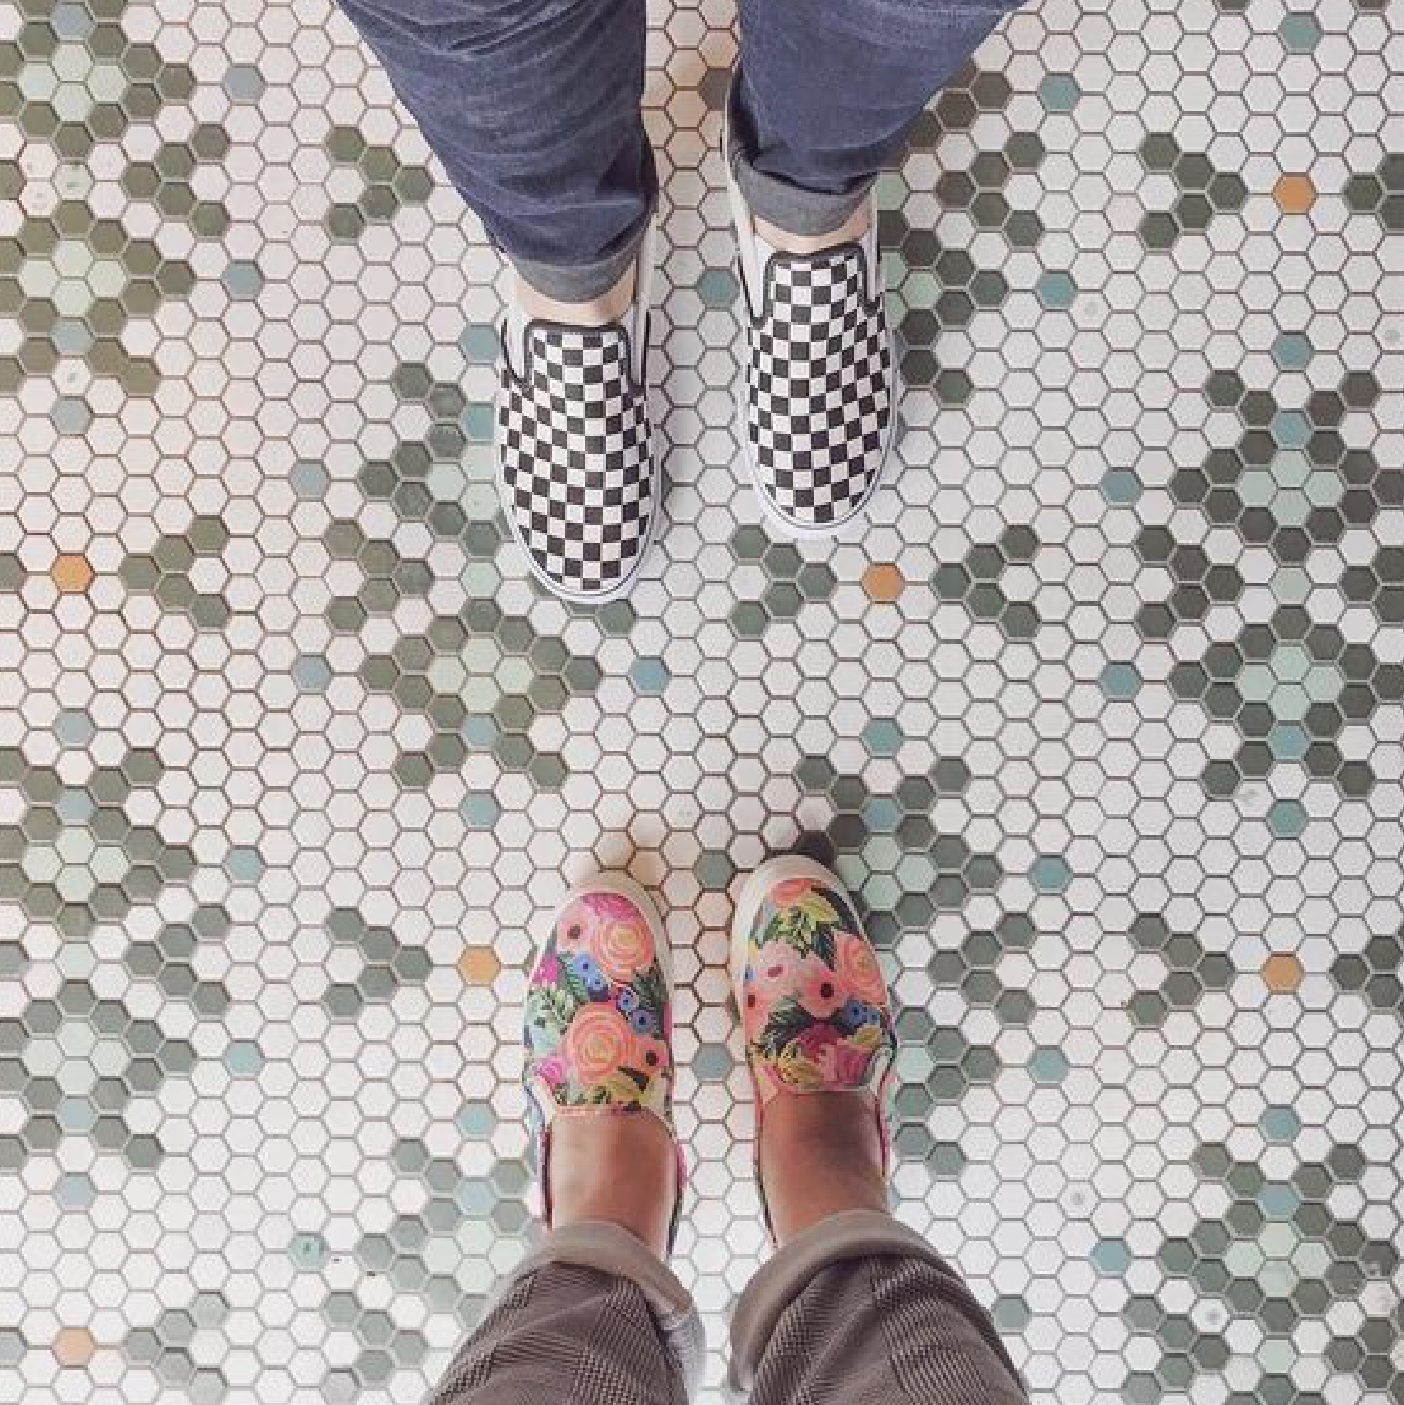
Before running through pattern options, we took to the internet for some inspiration. In addition to Pinterest, we always love the @Ihavethisthingwithfloors instagram account. Be sure to check it out if you haven’t already. We were quite drawn to the diamond and cross patterns but ultimately landed in the classic floret camp. Even though we loved those more angular pattern styles, they tend to produce a fair amount of directionality when you view the pattern as a whole. Our bathroom has an odd diagonal clip at the doorway that results in a room that doesn’t really have 4 corners. We also have the clawfoot tub and vanity that will visually cover a good portion of the floor. When looking at patterns with a lot of directionality, they just didn’t make sense when viewed in context with the angled door and the way the pattern disappeared beneath the tub.
“To create more of a field effect, it was all about balancing density and activity. We wanted something that was active and interesting but not distracting. ”
The best way to achieve this was to have the appropriate ratio of white space to color and pattern. We also ditched the concept of a border in the bathroom given the odd room shape. Since we won’t have that problem in the mudroom, we were able to design that space with a border which gives you a permanent area rug-like design (which we love).
You can see we ran through a bunch of options before settling on a final design. The variations are subtle but we’re happy with where we landed. We thought we wanted to introduce a warm color - either burgundy or rust orange but ultimately it just wasn’t working when we reviewed the samples. We opted to go with a white field and cypress green florets with pale blue “spa” colored centers, and intermediate dots of dark moss green.
Want to Make Your Own? Here’s How.
Now that you’ve seen a quick snippet into our thought process on the mosaic tile design, you might be asking yourself where you would start if you wanted to create a custom tile pattern of your own. I’ll first warn you that in spite of this being a small amount of floor, this custom tile stuff can be quite time consuming. A lot of people might think it's either out of the question or too complicated but we’re here to walk you through some of the steps.
Step 1
Start with image research and figure out what type of pattern you’re interested in creating. Is it hexagons or squares? What's the overall style and motif? How many colors do you want to use?
Step 2
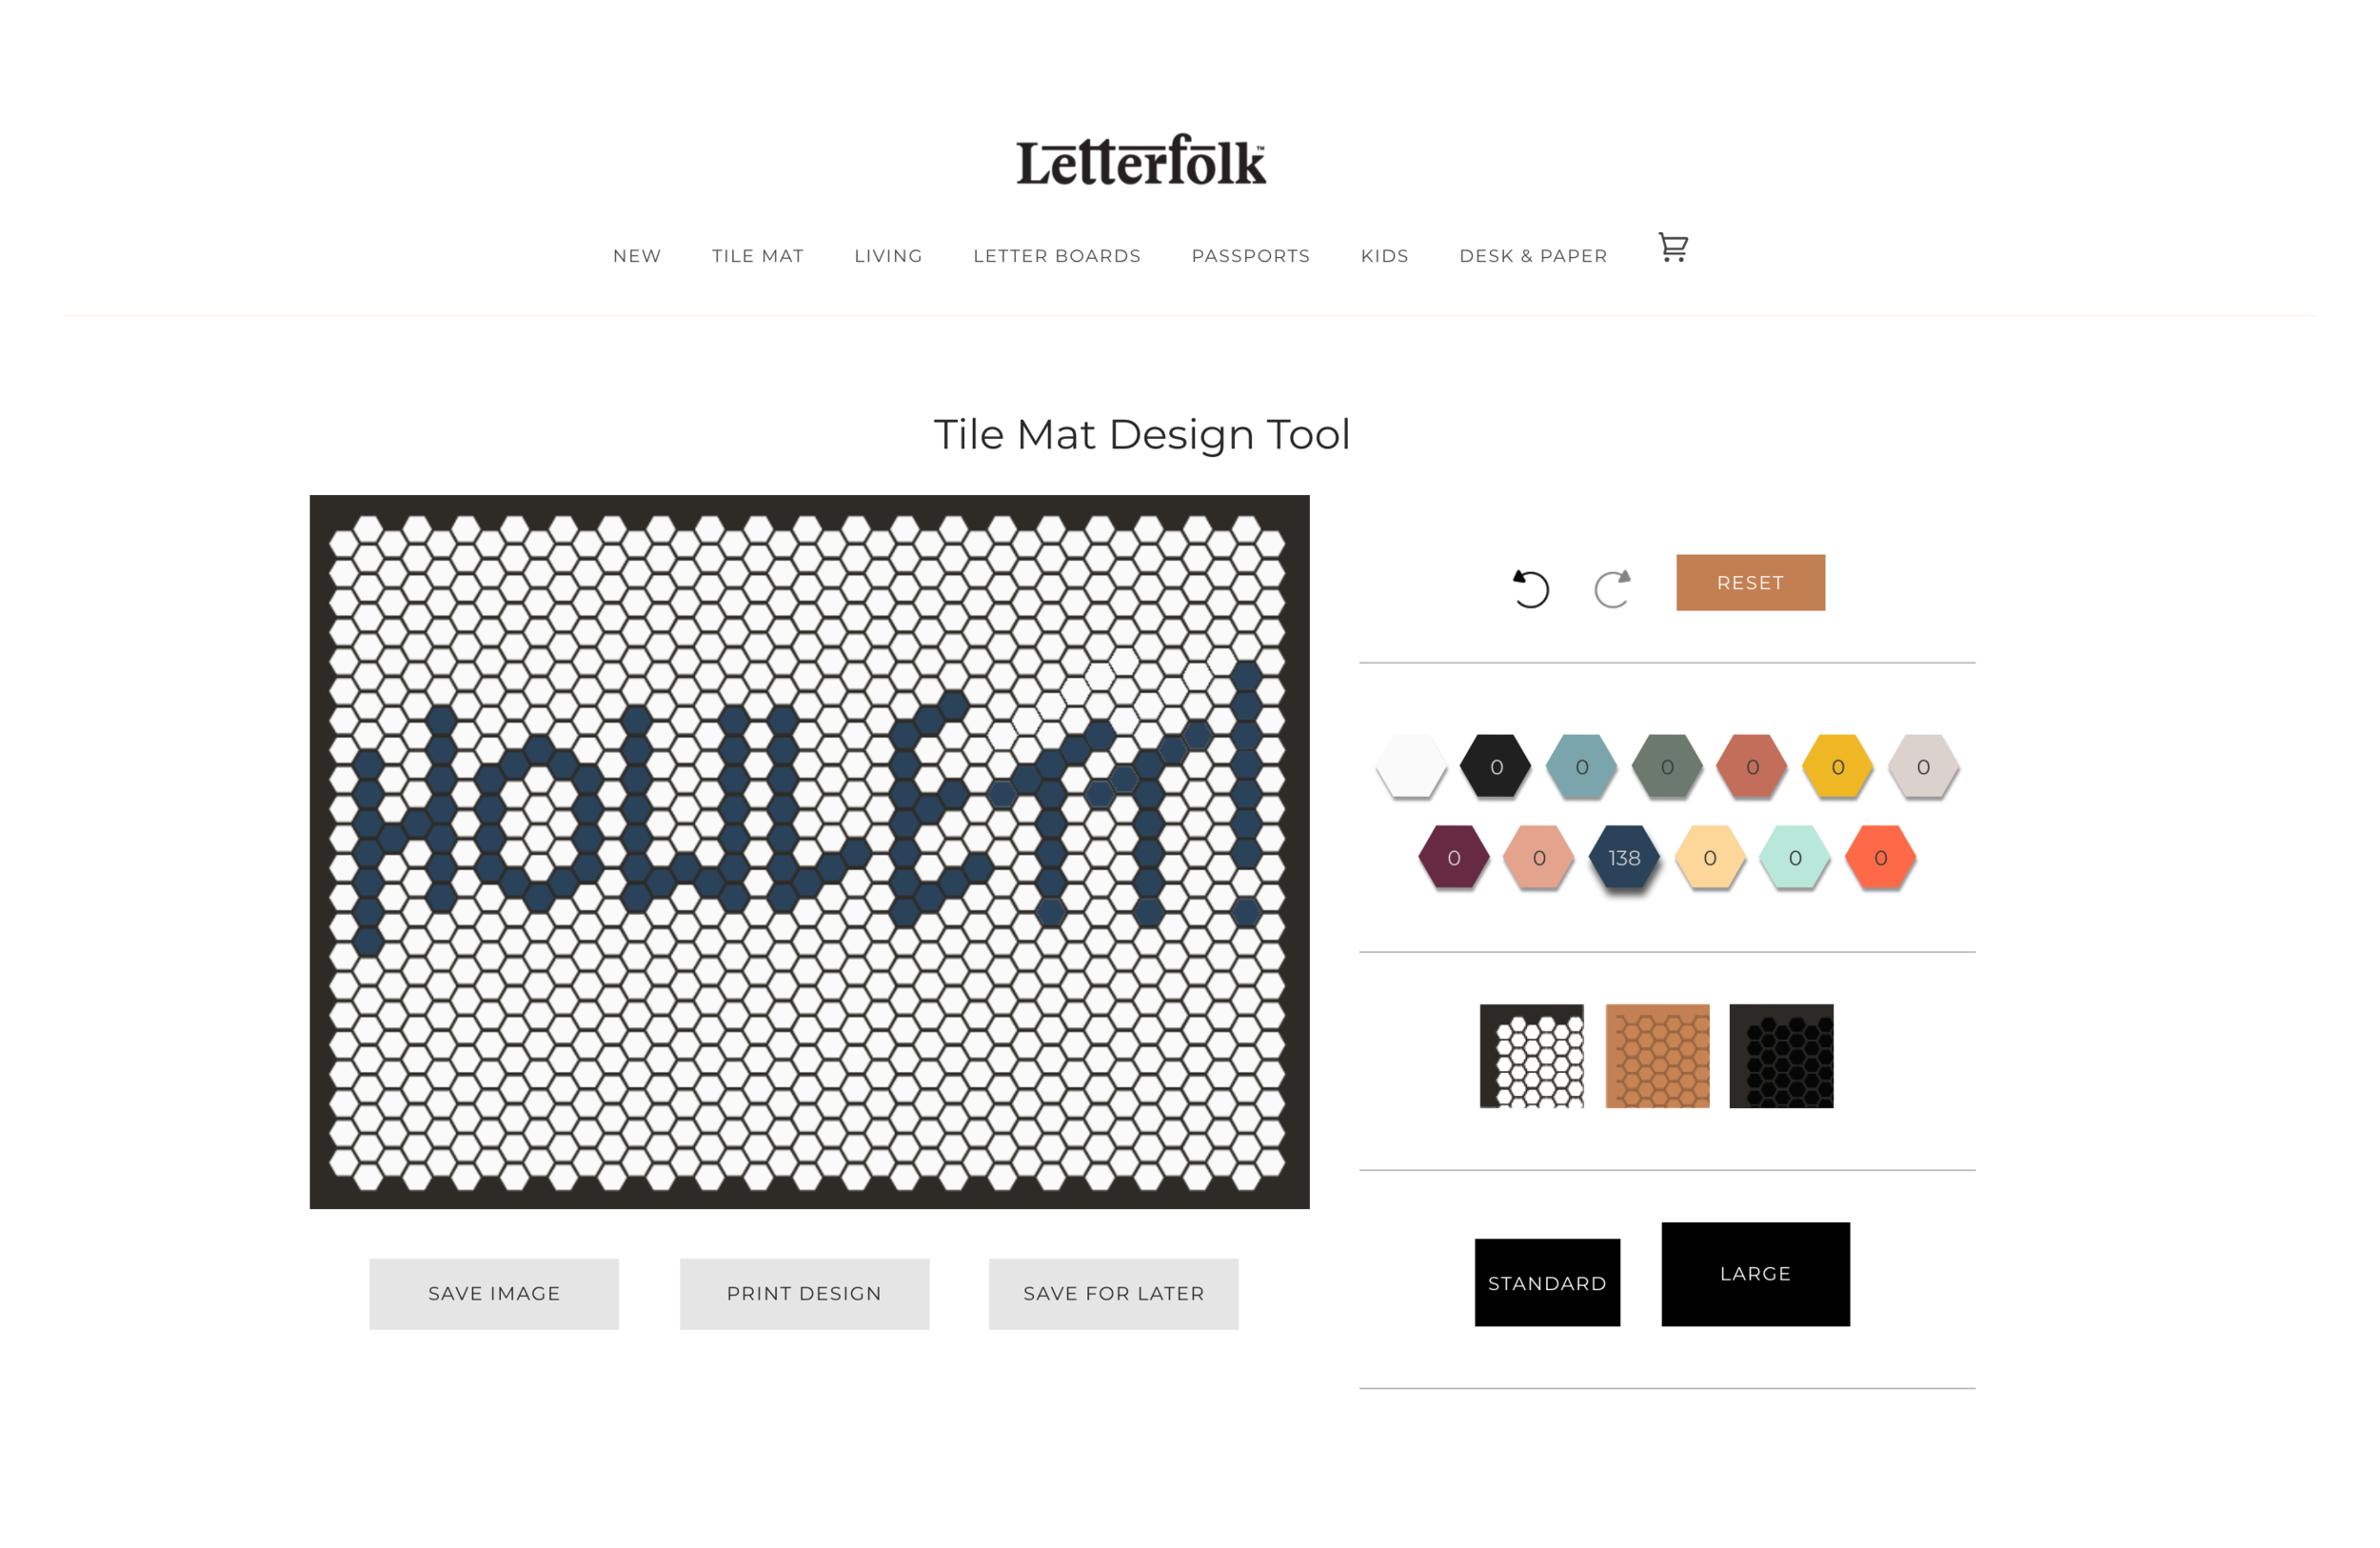
Play with the pattern builder. We made our pattern from scratch using Adobe Illustrator but Daltile recently released a new online pattern tool which eliminates the need to use outside programs. It’s similar to Letterfolk’s Tile Mat design tool which is also super fun and a delight to play around with.
Step 3
Reach out to a tile rep, ask questions, and order samples. I must admit this is where our knowledge and connections as architects may have influenced our process. We assume you can talk to reps without being in the trade but we’re not 100% sure. There is another company called “American Restoration Tile” that does custom patterns as well that might be another alternative if you run into any roadblocks.
Step 4
Understand the long lead times and plan accordingly. Our tile from the time of order to the time of delivery was 8 weeks. That doesn’t include the time it took to design the patterns, review the samples, and go back and forth with the rep to finalize the pattern for production. We did 2 rounds of samples which took about 2 weeks each to receive.
Step 5
Install and enjoy. And don’t forget to send us pictures or tag us on instagram with any custom tile patterns you create. We’d love to see what you all come up with!


Show Us Your Tile Patterns!
After reading this post, we hope you all were inspired and feel ready to take on your own custom tile project. We think it’s a great way to tie several rooms of the house together, especially if you have a mixed color palette and need a tile that is versatile enough to work in a variety of rooms. It's such a fun way to create something entirely unique and special for your home. We’ll be installing our tile in the next couple weeks so you’ll have to check back to see the final product! If you have any more questions about our design, pattern, or our process, don’t hesitate to reach out. We look forward to seeing what you all create!


