Refinishing Our Floors In Under 7 Hours
A couple of years back, we shared a post about our process resurfacing and refinishing the floors at our two-unit house in New Haven CT. What a chore that was! If you take a look at the old post, you’ll see that we spent a great deal of time sanding down the old and new red oak flooring using some heavy-duty rental equipment to blend the planks together, and spent even more time painstakingly repairing extensive damage the electricians did to the fragile old white-pine planks on the third floor. We learned a few things in the process, and if confronted with a similar wood type and floor condition again, would probably use a similar approach.

However, at our new (old) house in Richmond, we have the good fortune to have original yellow pine floors that, while worn with age, have never been abused with sloppy polyurethane finish or aggressive sanding. Again, we consulted with my Dad (conservator F. Carey Howlett - you can check out some of his local work here) on a relatively fast, easy, and historically appropriate technique for refinishing the floors to preserve and maintain their aged appearance and historic character.
A Little Yellow Pine History
First off, edge-grain old-growth yellow pine is the historic wood flooring ne plus ultra for the mid-Atlantic and southern United States. Up until about 1900 or so, almost every home of good quality would’ve had a yellow pine floor. The wood comes from two or three yellow pine species native to the southeastern US, and is effectively as hard and as durable as hardwood oak flooring but with typically much straighter grain and in longer lengths given the characteristics of the trees.
However, by the 1920’s, much of the supply of the various yellow pine species had been logged-out, with remaining supply scarce and of poor quality. Our house, dating to the 1910’s, just barely made the cut, and the floors contain a mix of the high-quality edge-grain planks that characterize earlier floors, along with others that are plain sawn (not as nice). In a few places, some of these plain-sawn planks are shelling and splintering, which makes it a little risky to walk around the house barefoot! Applying finish to a wooden floor makes it easier to clean and mop-up dirt and it also seals and coats the wood to reduce the likelihood of splinters and shelling – obviously it was time to refinish!
Getting Our Priorities Straight
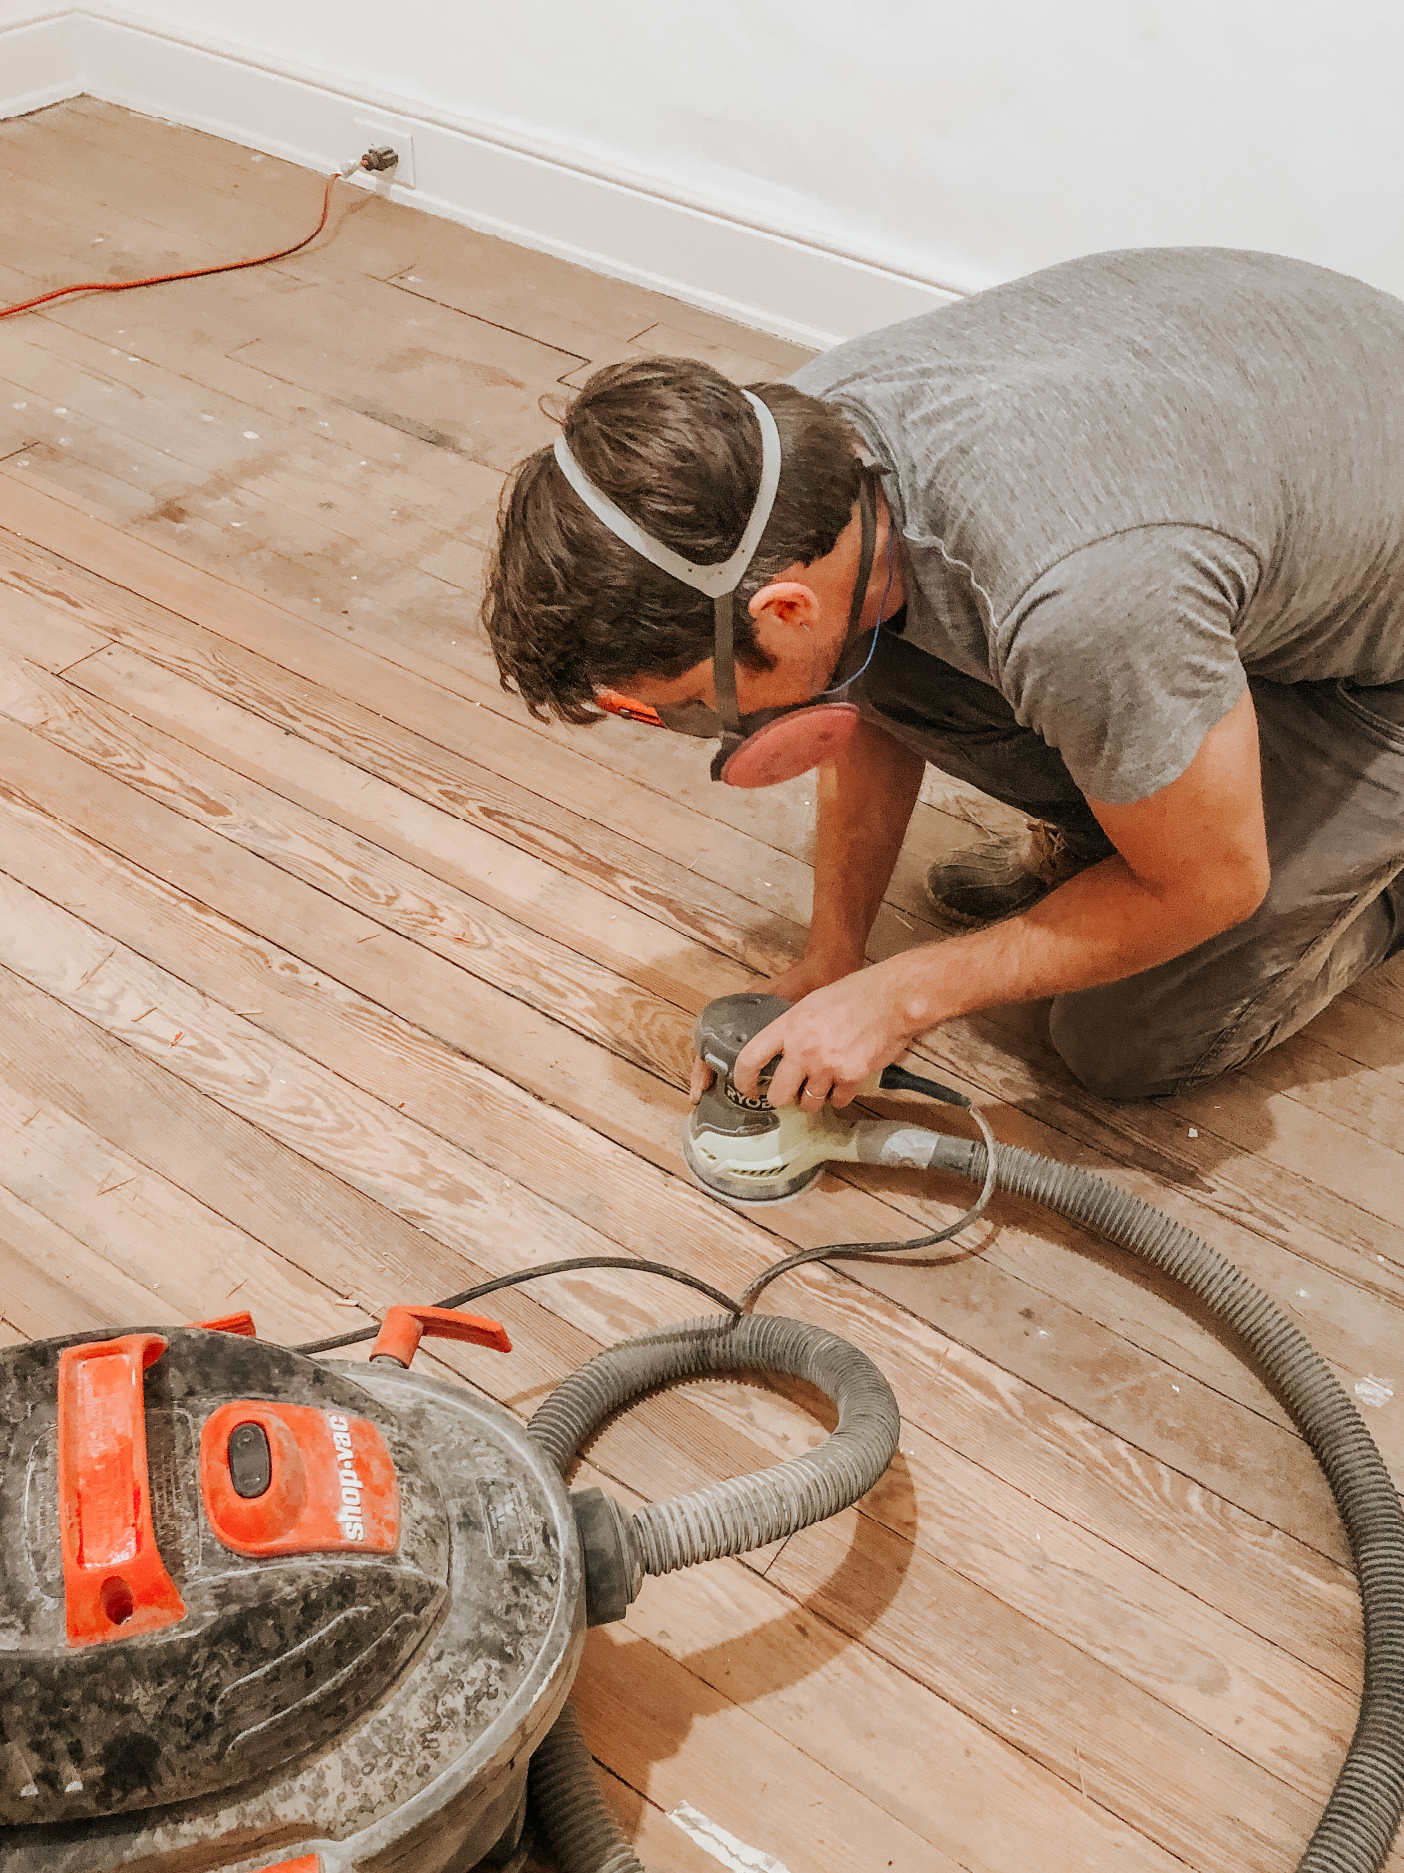
We decided to start first with the floor in our guest bedroom. Our priority was to preserve the original character and appearance of the old floors. We had no interest in aggressively sanding the floor to remove every last stain or scratch. To do so requires heavy equipment and is always very damaging to old floors --- to get them looking “good as new” would mean removing a 32nd inch or more off the surface. This is simply unsustainable and can only be done a few more times before you wear through to the nails holding the floor down. It’s absolutely the wrong thing to do – particularly if you care about historic preservation. Consequently, for us, the first step after a light cleaning with a mop and water to remove dirt and dust was to sand the entire floor using a palm sander and 100-grit paper.
“If your floor is like ours and has almost no remaining finish, this approach will be easy and effective. ”
We hooked the dust collector intake on our palm sander directly up to our small shop-vac and ran them both simultaneously to minimize dust. Using 100-grit paper, the amount that is removed is minimal, but effective for removing most staining and imperfections. Relative to the standard regime of aggressive sanding using course after course of successively finer papers, the total amount of time required to do a thorough and targeted sanding with just one pass at 100-grit was probably far less – again the goal was to get an even and smooth old-looking surface – not bare new raw wood. Next a thorough vacuuming and a quick wipe-down with a tack cloth for the entire surface removed all remaining dust and prepared the surface for finishing.

Now For the Finish
Following my dad’s recommendation, we used shellac as the finish on this floor. Shellac is a historically-appropriate and very easy to use finish. Also, compared to heavier-duty and more expensive options like tung oil, shellac is faster-drying and less toxic. We dissolved 1 pound of super-dry shellac flakes in 1 gallon of denatured alcohol, and this turned out to be enough to cover the entire 200sf floor in two coats with a simple paint brush (be sure to tie up and suspend the flakes inside a metal gallon paint can using cheese cloth).
Shellac itself is a resinous product excreted by a tropical bug that lives in India and Southeast Asia –apparently shellac is still used as the translucent coating for jelly beans and lots of other candies, so it must be good stuff, right? Detractors will observe that shellac is not durable and wears off over time – it turns out this is not a bad thing because it’s really really easy to re-apply a coat to seamlessly blend out any scratches or bare spots. Said detractors are often recommending polyurethane as a floor finish, which will make your floor look like crappy plastic when new, and will make your floor look like scratched up nasty old plastic as it ages (and this look and finish will definitely not wear off, ever).


All in all, the process from start to finish was about 7 hours over the course of two days – and the floor was ready to walk on in only a couple of hours, too. We’re really pleased with how nice the floor has turned out and look forward to using this approach throughout the rest of the house as soon as we advance the rest of our renovation plans! Be sure to let us know in the comments below what’s been your favorite quick & speedy project!


This week's post is all about refinishing the original pine floors in the now-converted attic space. We go step-by-step as we take on lots of repairs to give new life to these damaged boards.